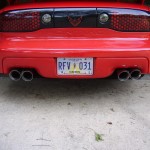
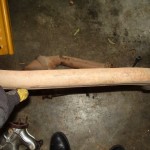
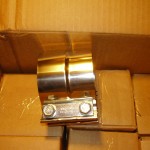
So I finally wrapped up everything with the exhaust install today by having the tips welded on. While there they noticed that the Y to I pipe connection wasn’t really sealing well so we decided to weld that up too. Here is a shot of the new tips.
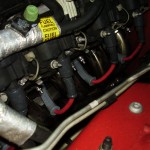
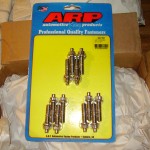
The install itself wasn’t really all that terrible. I had read many horror stories about being able to get the headers in. Once I had gotten all of the old exhaust out, courtesy of my reciprocating saw and alot of cursing about tight spaces, the new headers slipped into place fairly easily. The only except was having to remove the oil filter for the driver’s side to make it in. The studs helped a great deal by allowing the gasket to hang in place and as a guide for the header. I imagine doing it with bolts would have been a much greater chore. Here are a couple quick snaps of them after the install.
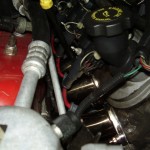
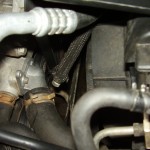
Unfortunately I did discover a couple other issues during the install, but nothing that was major. Here is one of the coolant system lines that wasn’t as noticeable until the airbox was off.
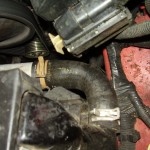
And also hiding under the airbox was the capped off end to the coolant line that runs through the throttle body which is then supposed to return to the radiator. Apparently some redneck shade tree mechanic “fixed” this by shoving a bolt into the hose and clamping it down when he installed a radiator that obviously wasn’t meant for the car since it didn’t have a provision for this line.
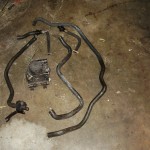
I was also able to clear up a good bit of space in the bay by removing a couple of the stock systems that I no longer needed. Here is the AIR system that was used to inject air drawn from the airbox into the cats until they hit operating temperatures. See ya!
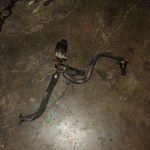
And here is the EGR system that grabbed hot unburnt gases and shoved them back into the intake right behind the throttle body. It not only blocked incoming airflow by having this huge dong sticking into the intake but to inject hot as hell air right back into the intake? So long sucker!
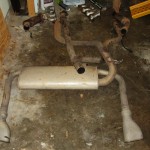
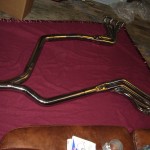
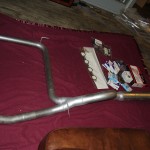
Here is a snap of the shoddy stock exhaust system and a side view of the stock Y pipe. You can see why this was a severe choke point on these cars and killed a lot of their power right out the door. A slight bit more clearance from squashing the pipe like that is most certainly not worth it.
I decided not to do the poly motor and trans mounts during the install because I was just too worn out to deal with them at the time. I’m going to hold onto the parts and take care of it when I do the heads since the car will be down for an extended period of time for those most likely. I will say that ham fisted big folk like myself were never meant to work on some aspects of these cars. Especially with the say they slanted the plugs in the heads. I can barely get my hands to the back of the head to just touch a plug on the passenger side much less maneuver the wires which take a bit of force to get on. All in all, it took about 10-12 hours of work to accomplish. This was with a few hours of breaks scattered in when getting too frustrated. I am loving the new sound and increased power in the mid to high rpm bands. Now to save up for some spiffy new wheels and tires.
