Monthly Archives: March 2013

Top End Refresher – Done

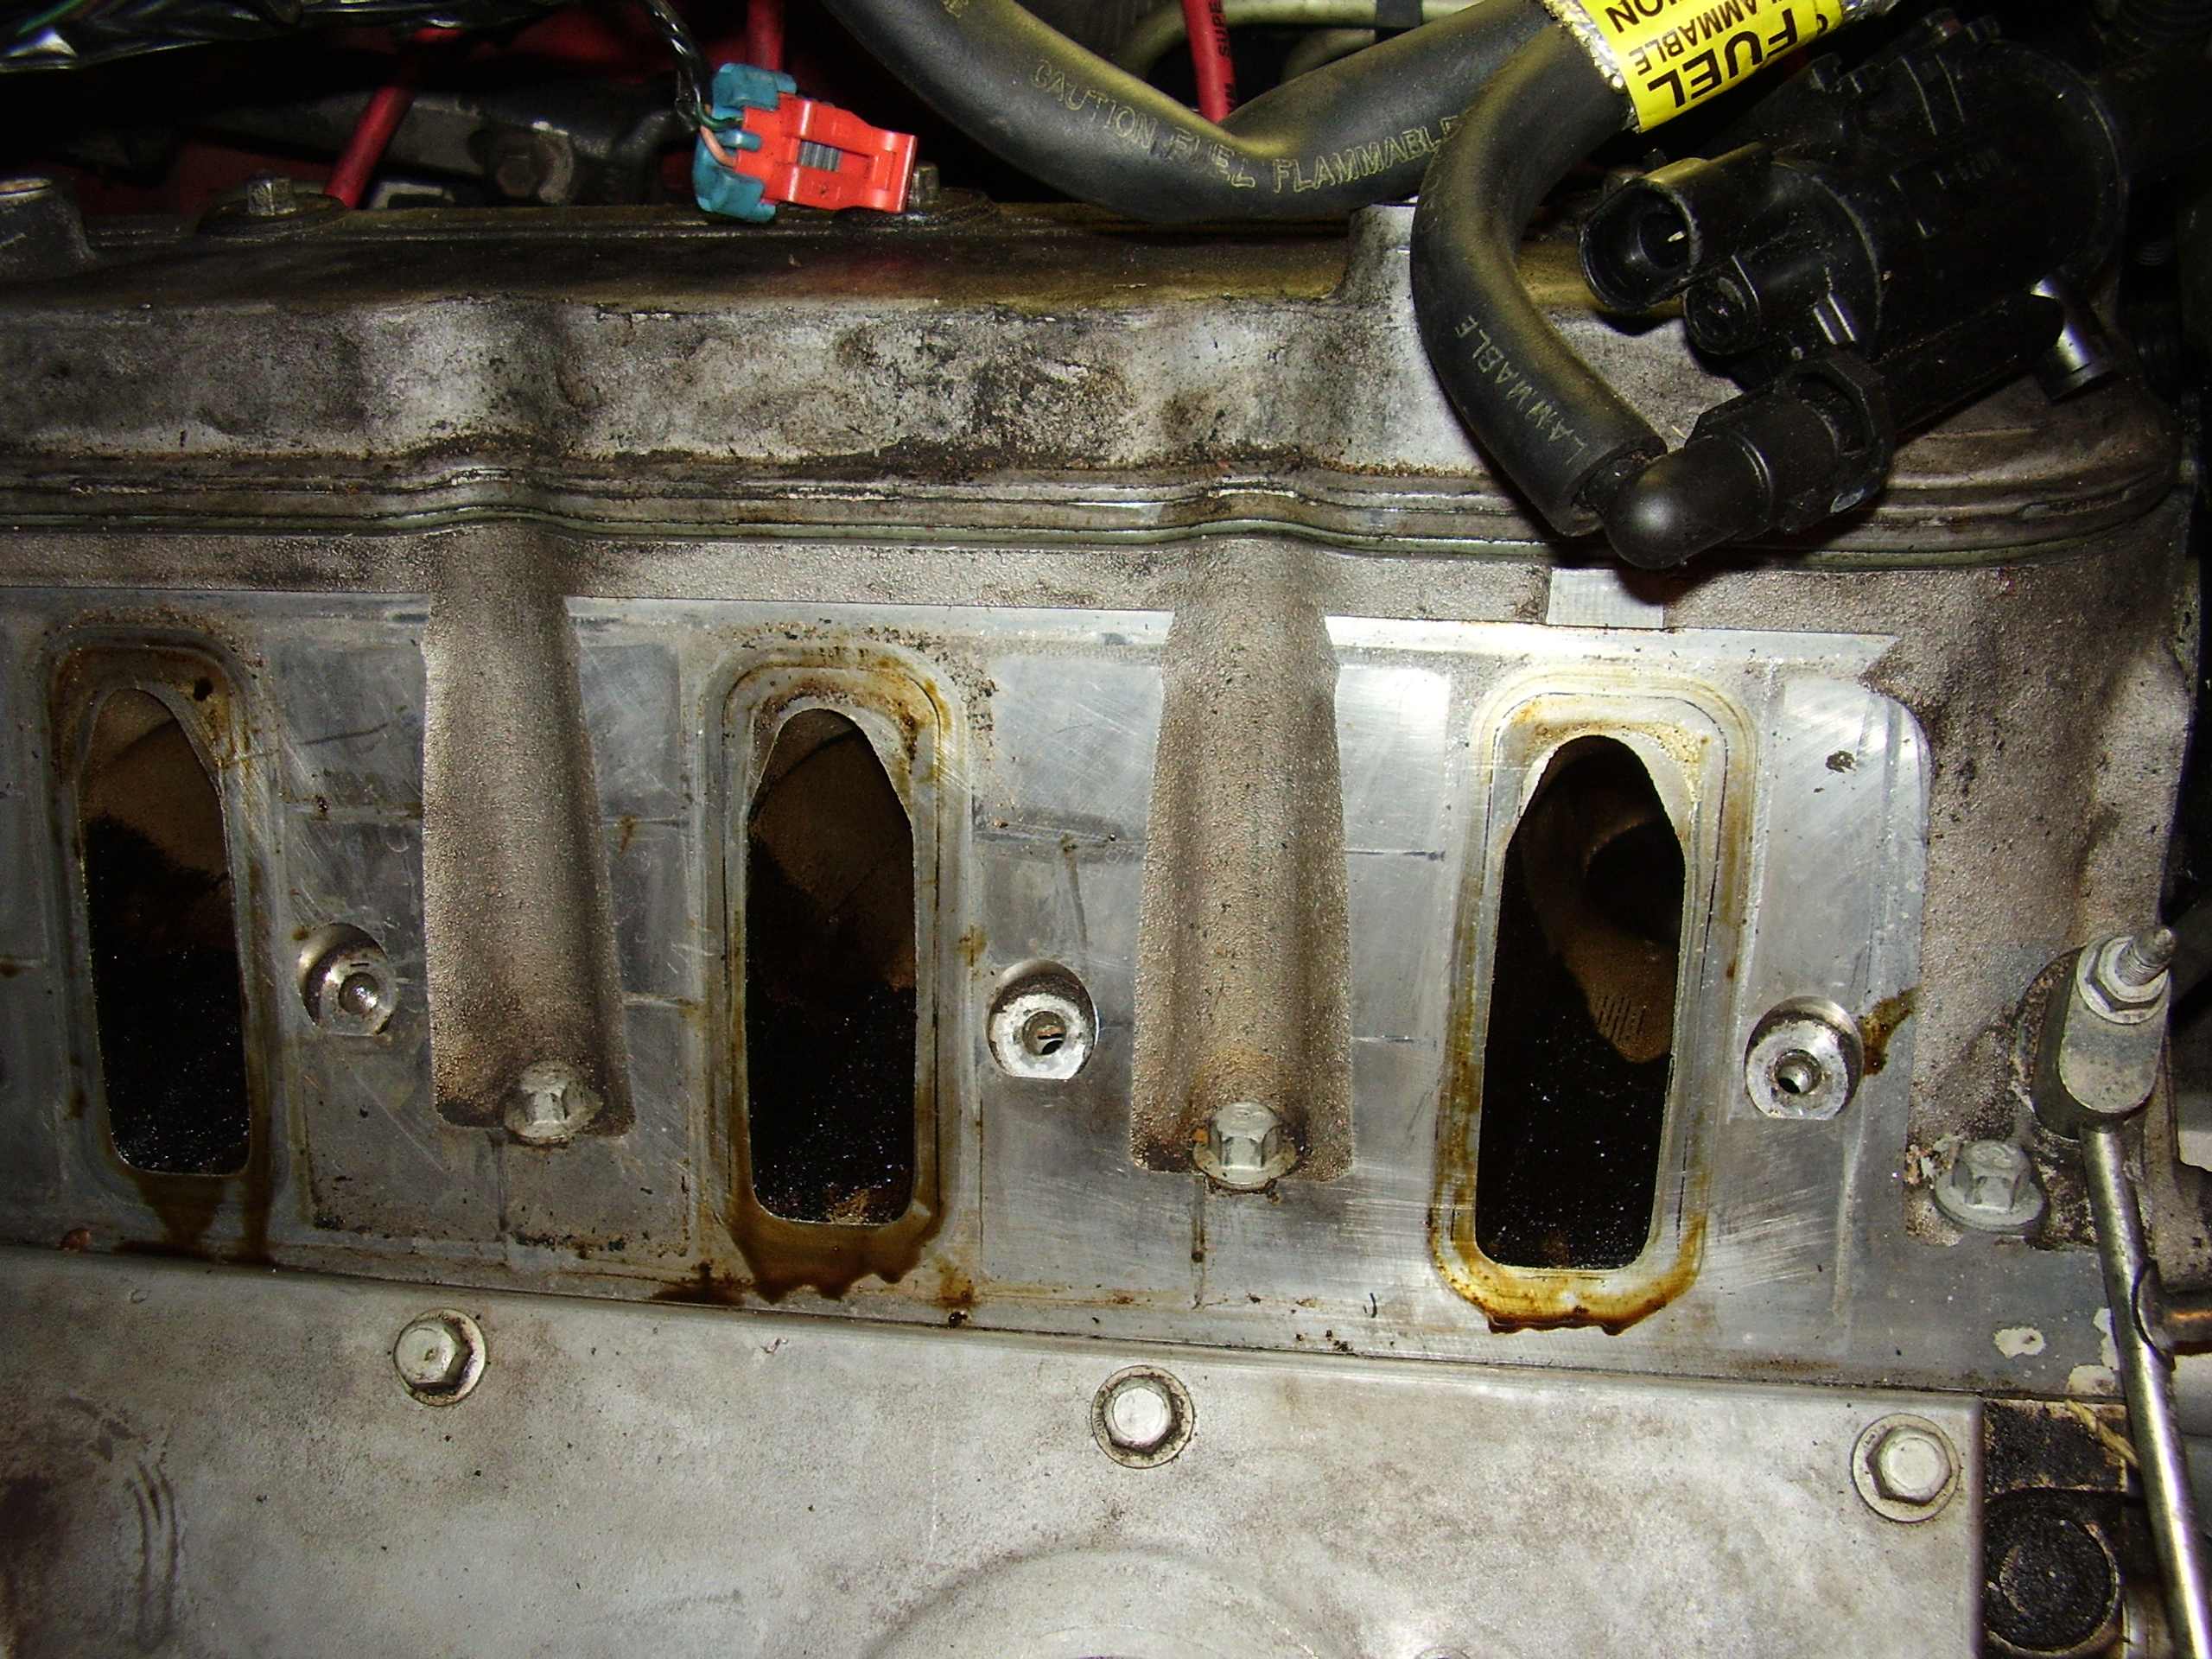
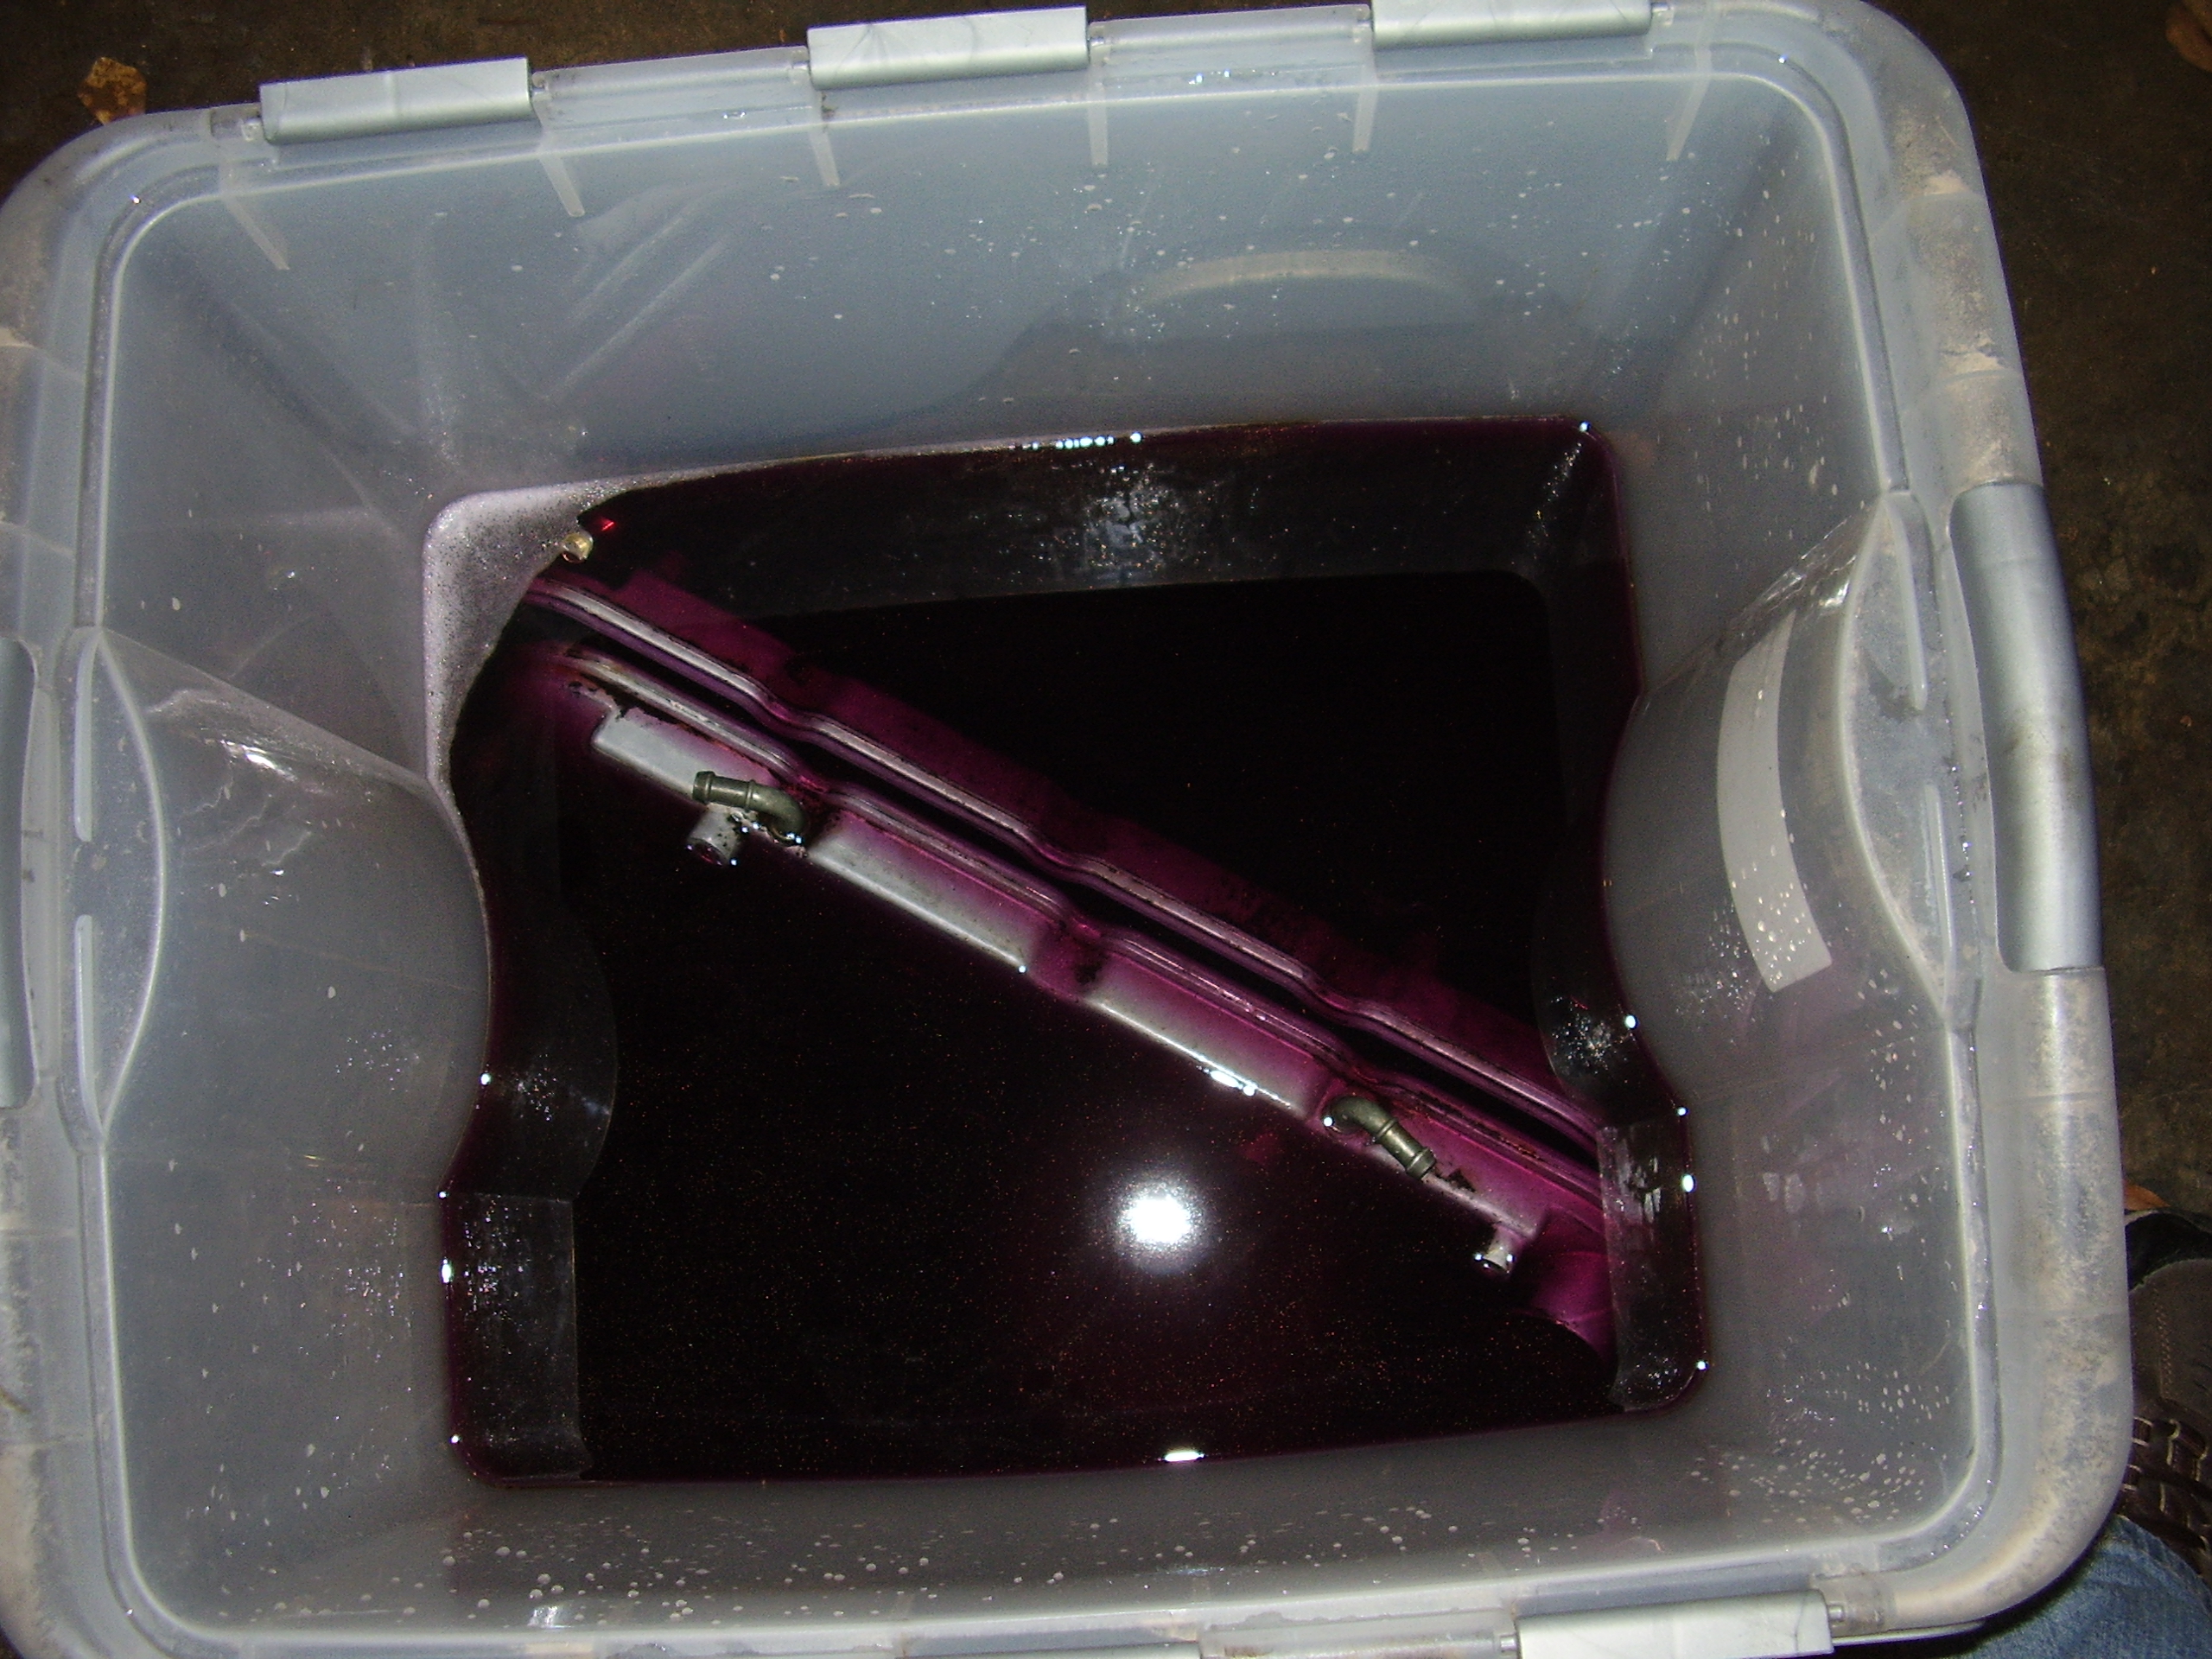
So I wrapped up the work I was doing on the top end the other day.  I am happy with most of the work but not all of it.

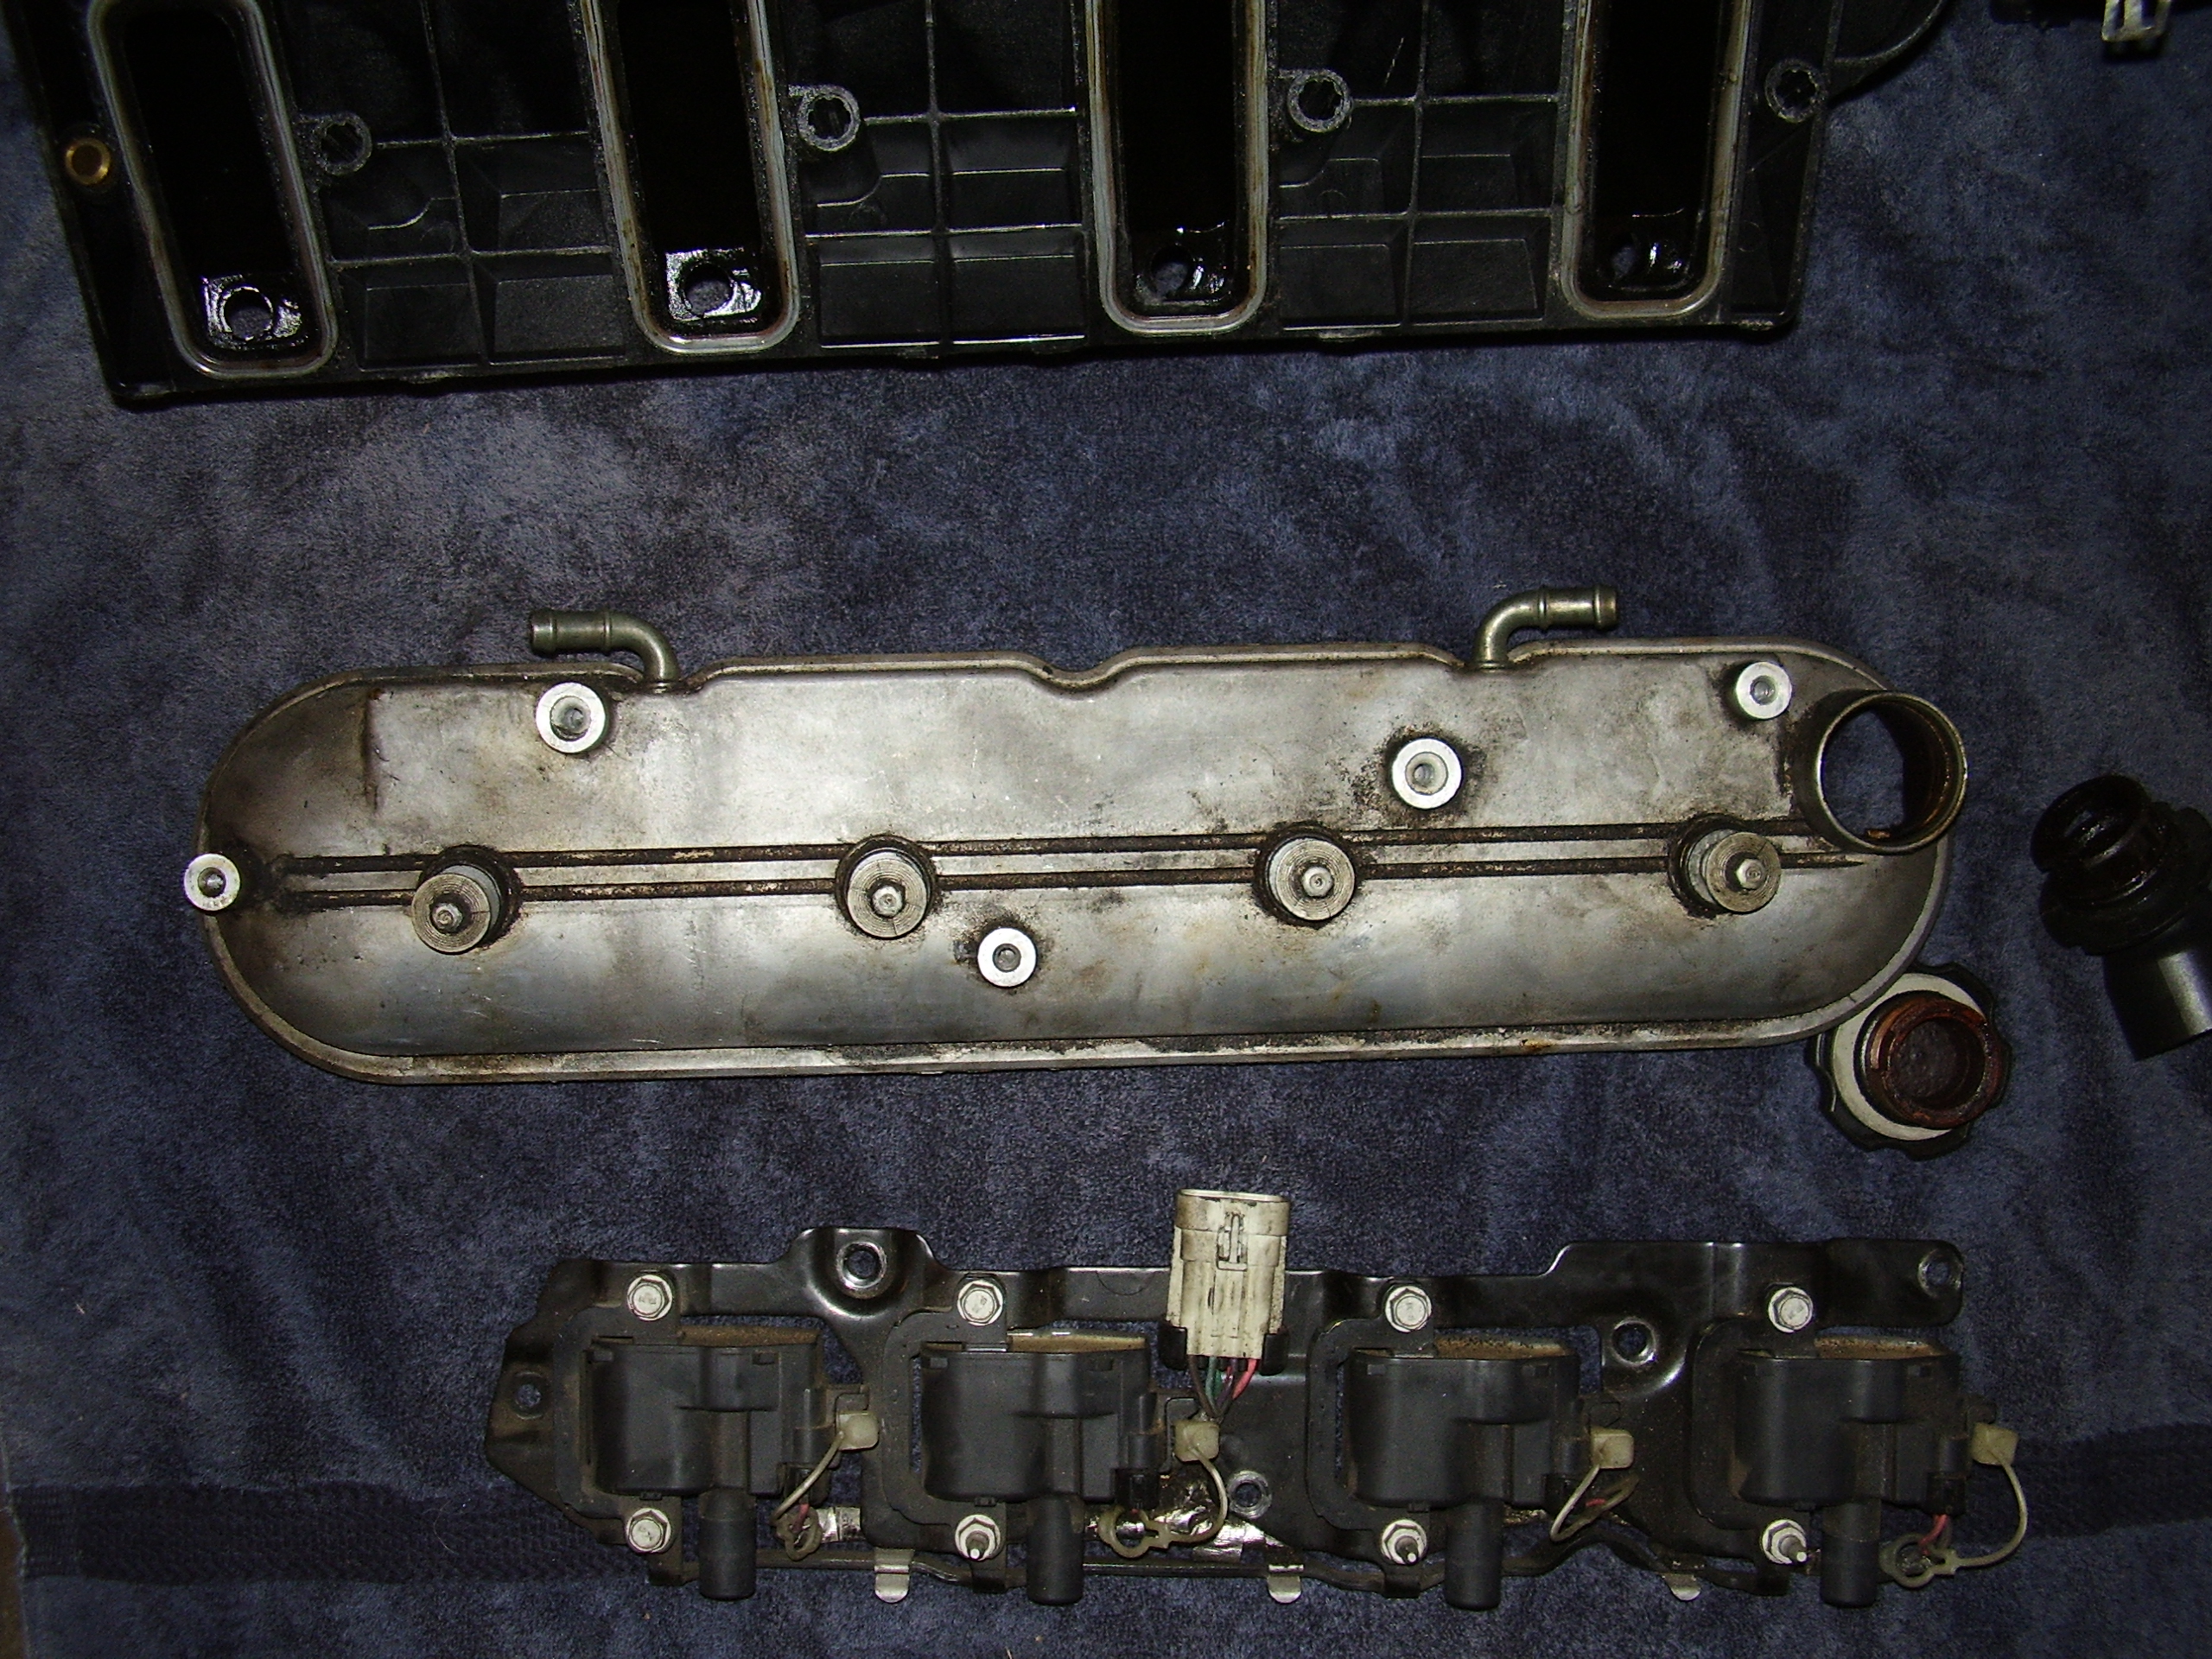
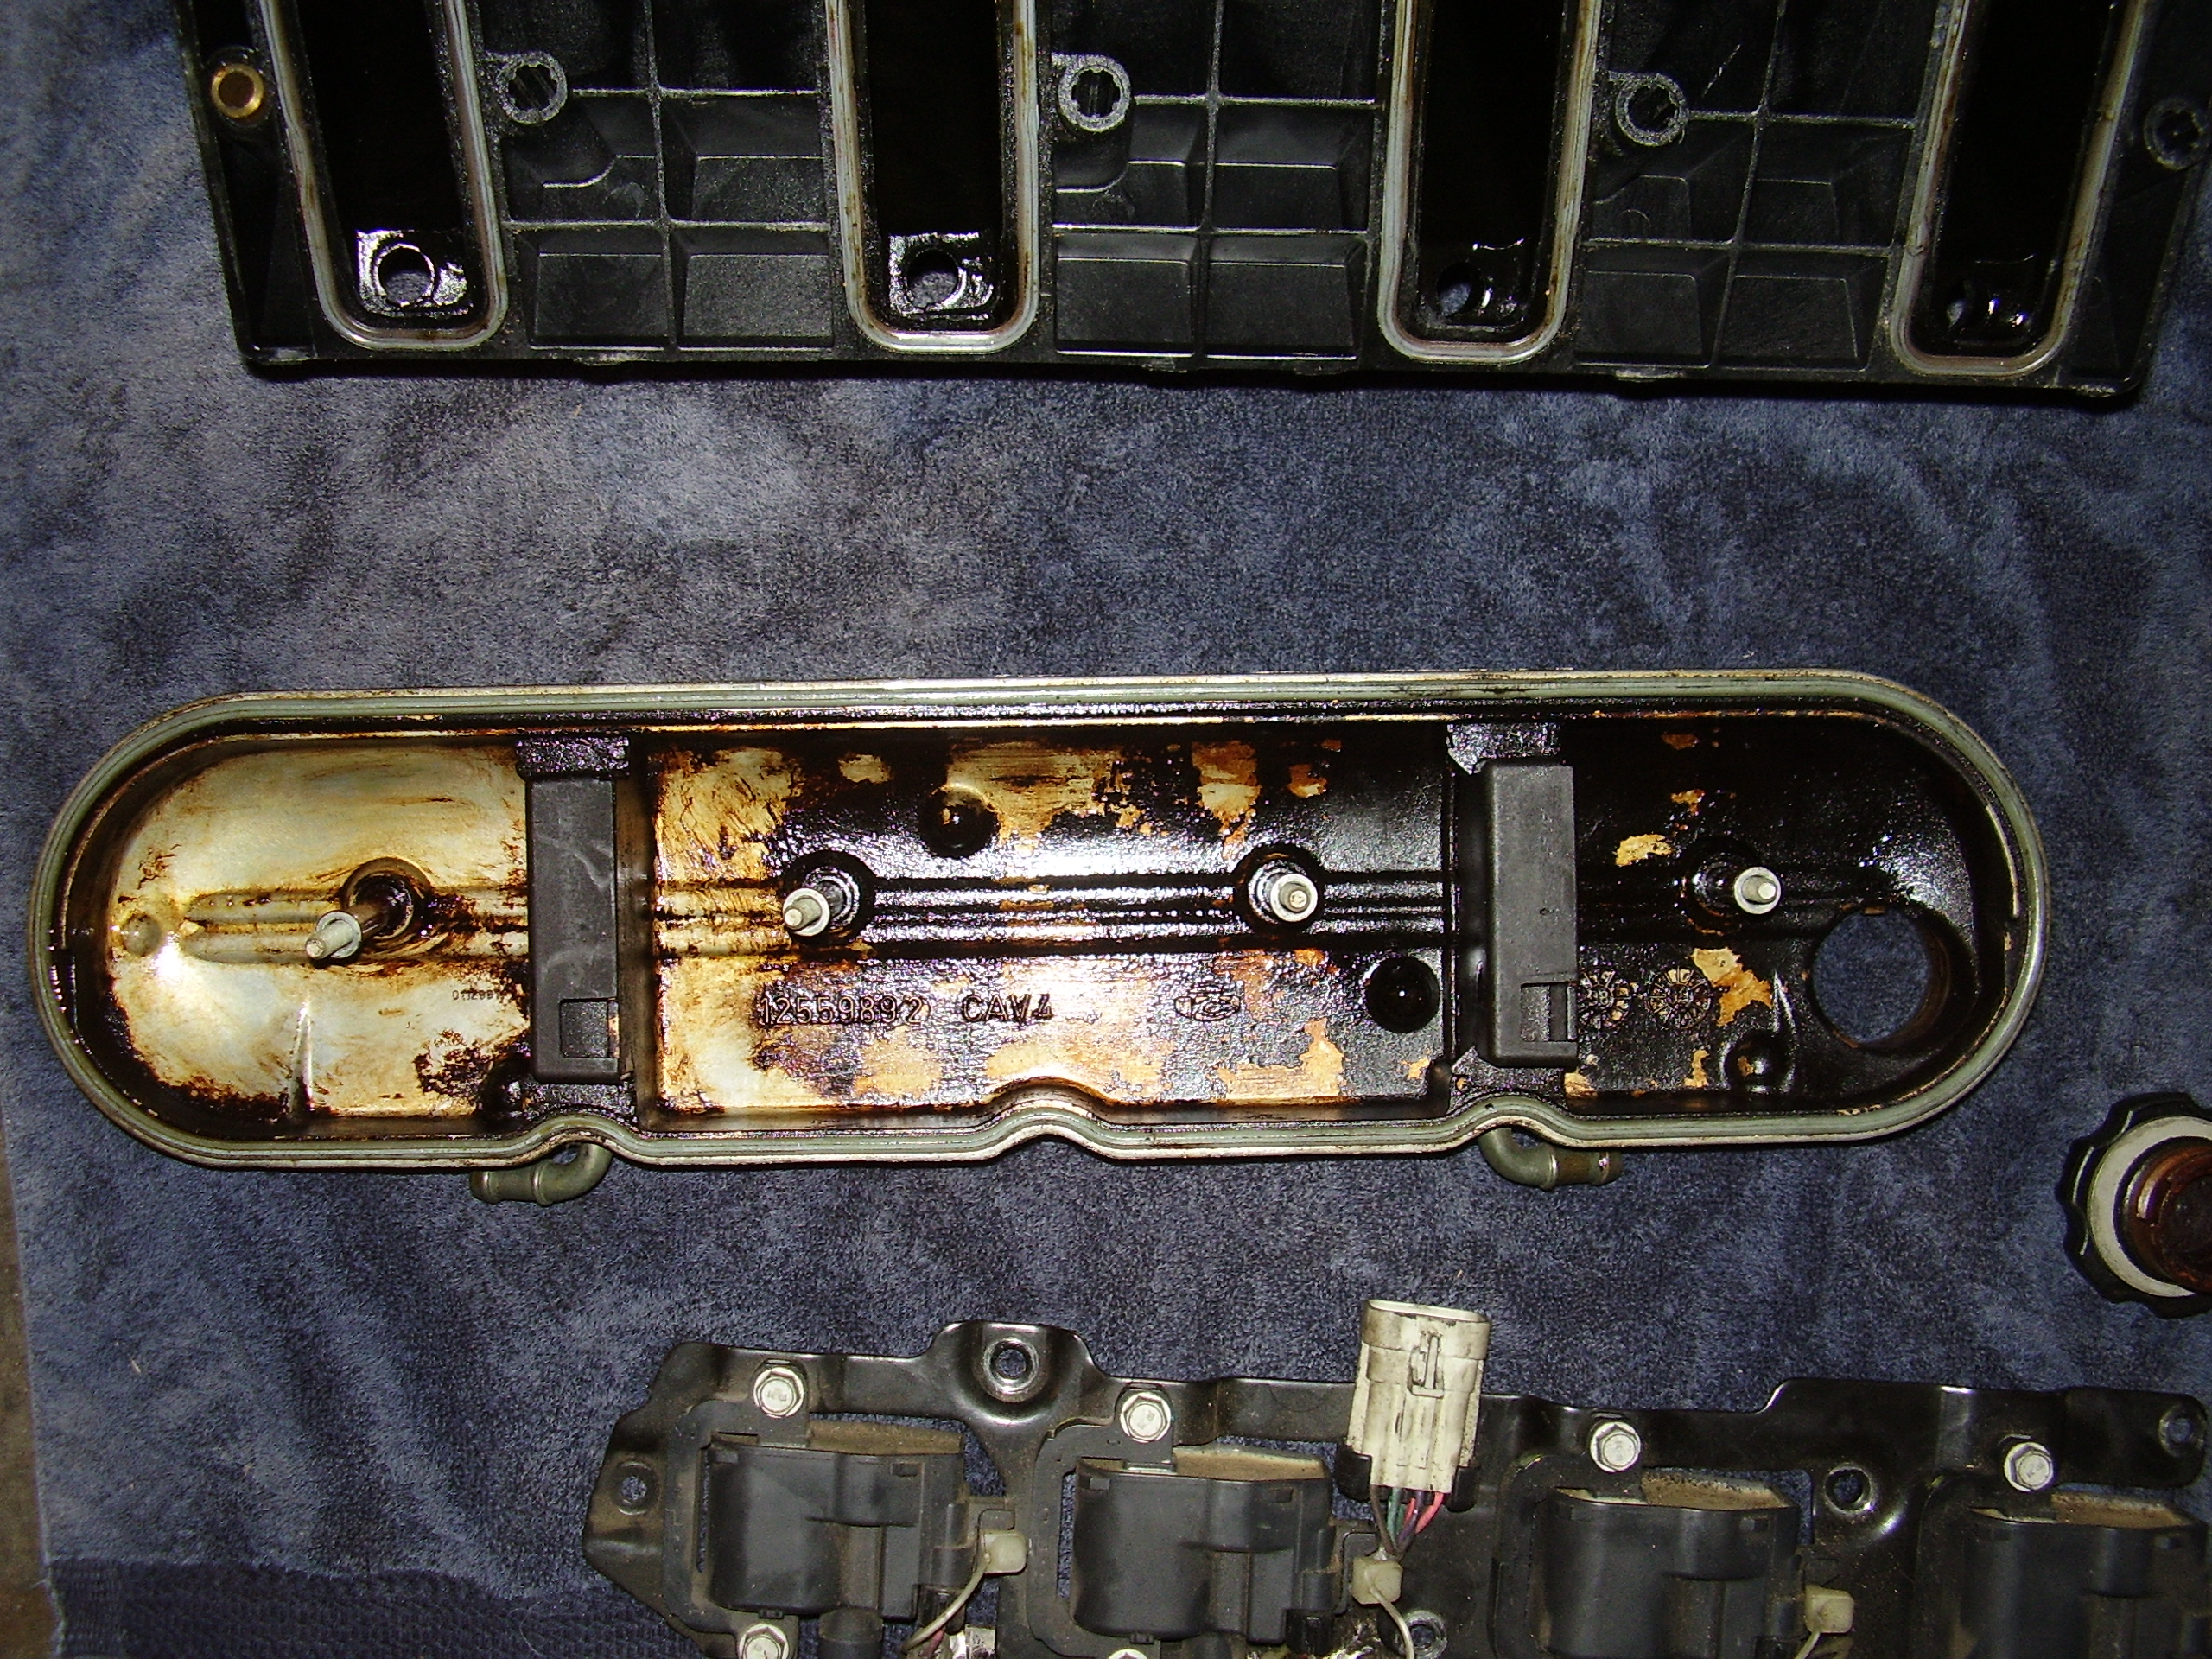
Here are some shots of the valve covers after I pulled them from the degreasing bath.  The thing that I never noticed because of all the caked on filth that this brought out was that on every single one of the bolt bosses on the valve covers where the coil brackets are secured has visible stress fractures.  I don’t know if some shade tree guy went to town when bolting them down at one point or if they were just over torqued from the factory.  Either way it was ugly and I might consider some new covers in the future.  Probably after market since the cleaning showed me just how crappy the casting process for these covers was.  There was flash and burrs all over the covers surface along with sharp edges I never noticed before.  You could also see the obvious pour channel break marks.I guess GM figures you would see so little of the covers due to the coils being mounted on top of them that no one would care.  Of course if I get aftermarket covers that also means I would need to relocate my coils which will be an ordeal in and of itself since there is really no room in the F-Body engine bay.

Valve Covers - Top     Valve Covers - Bottom

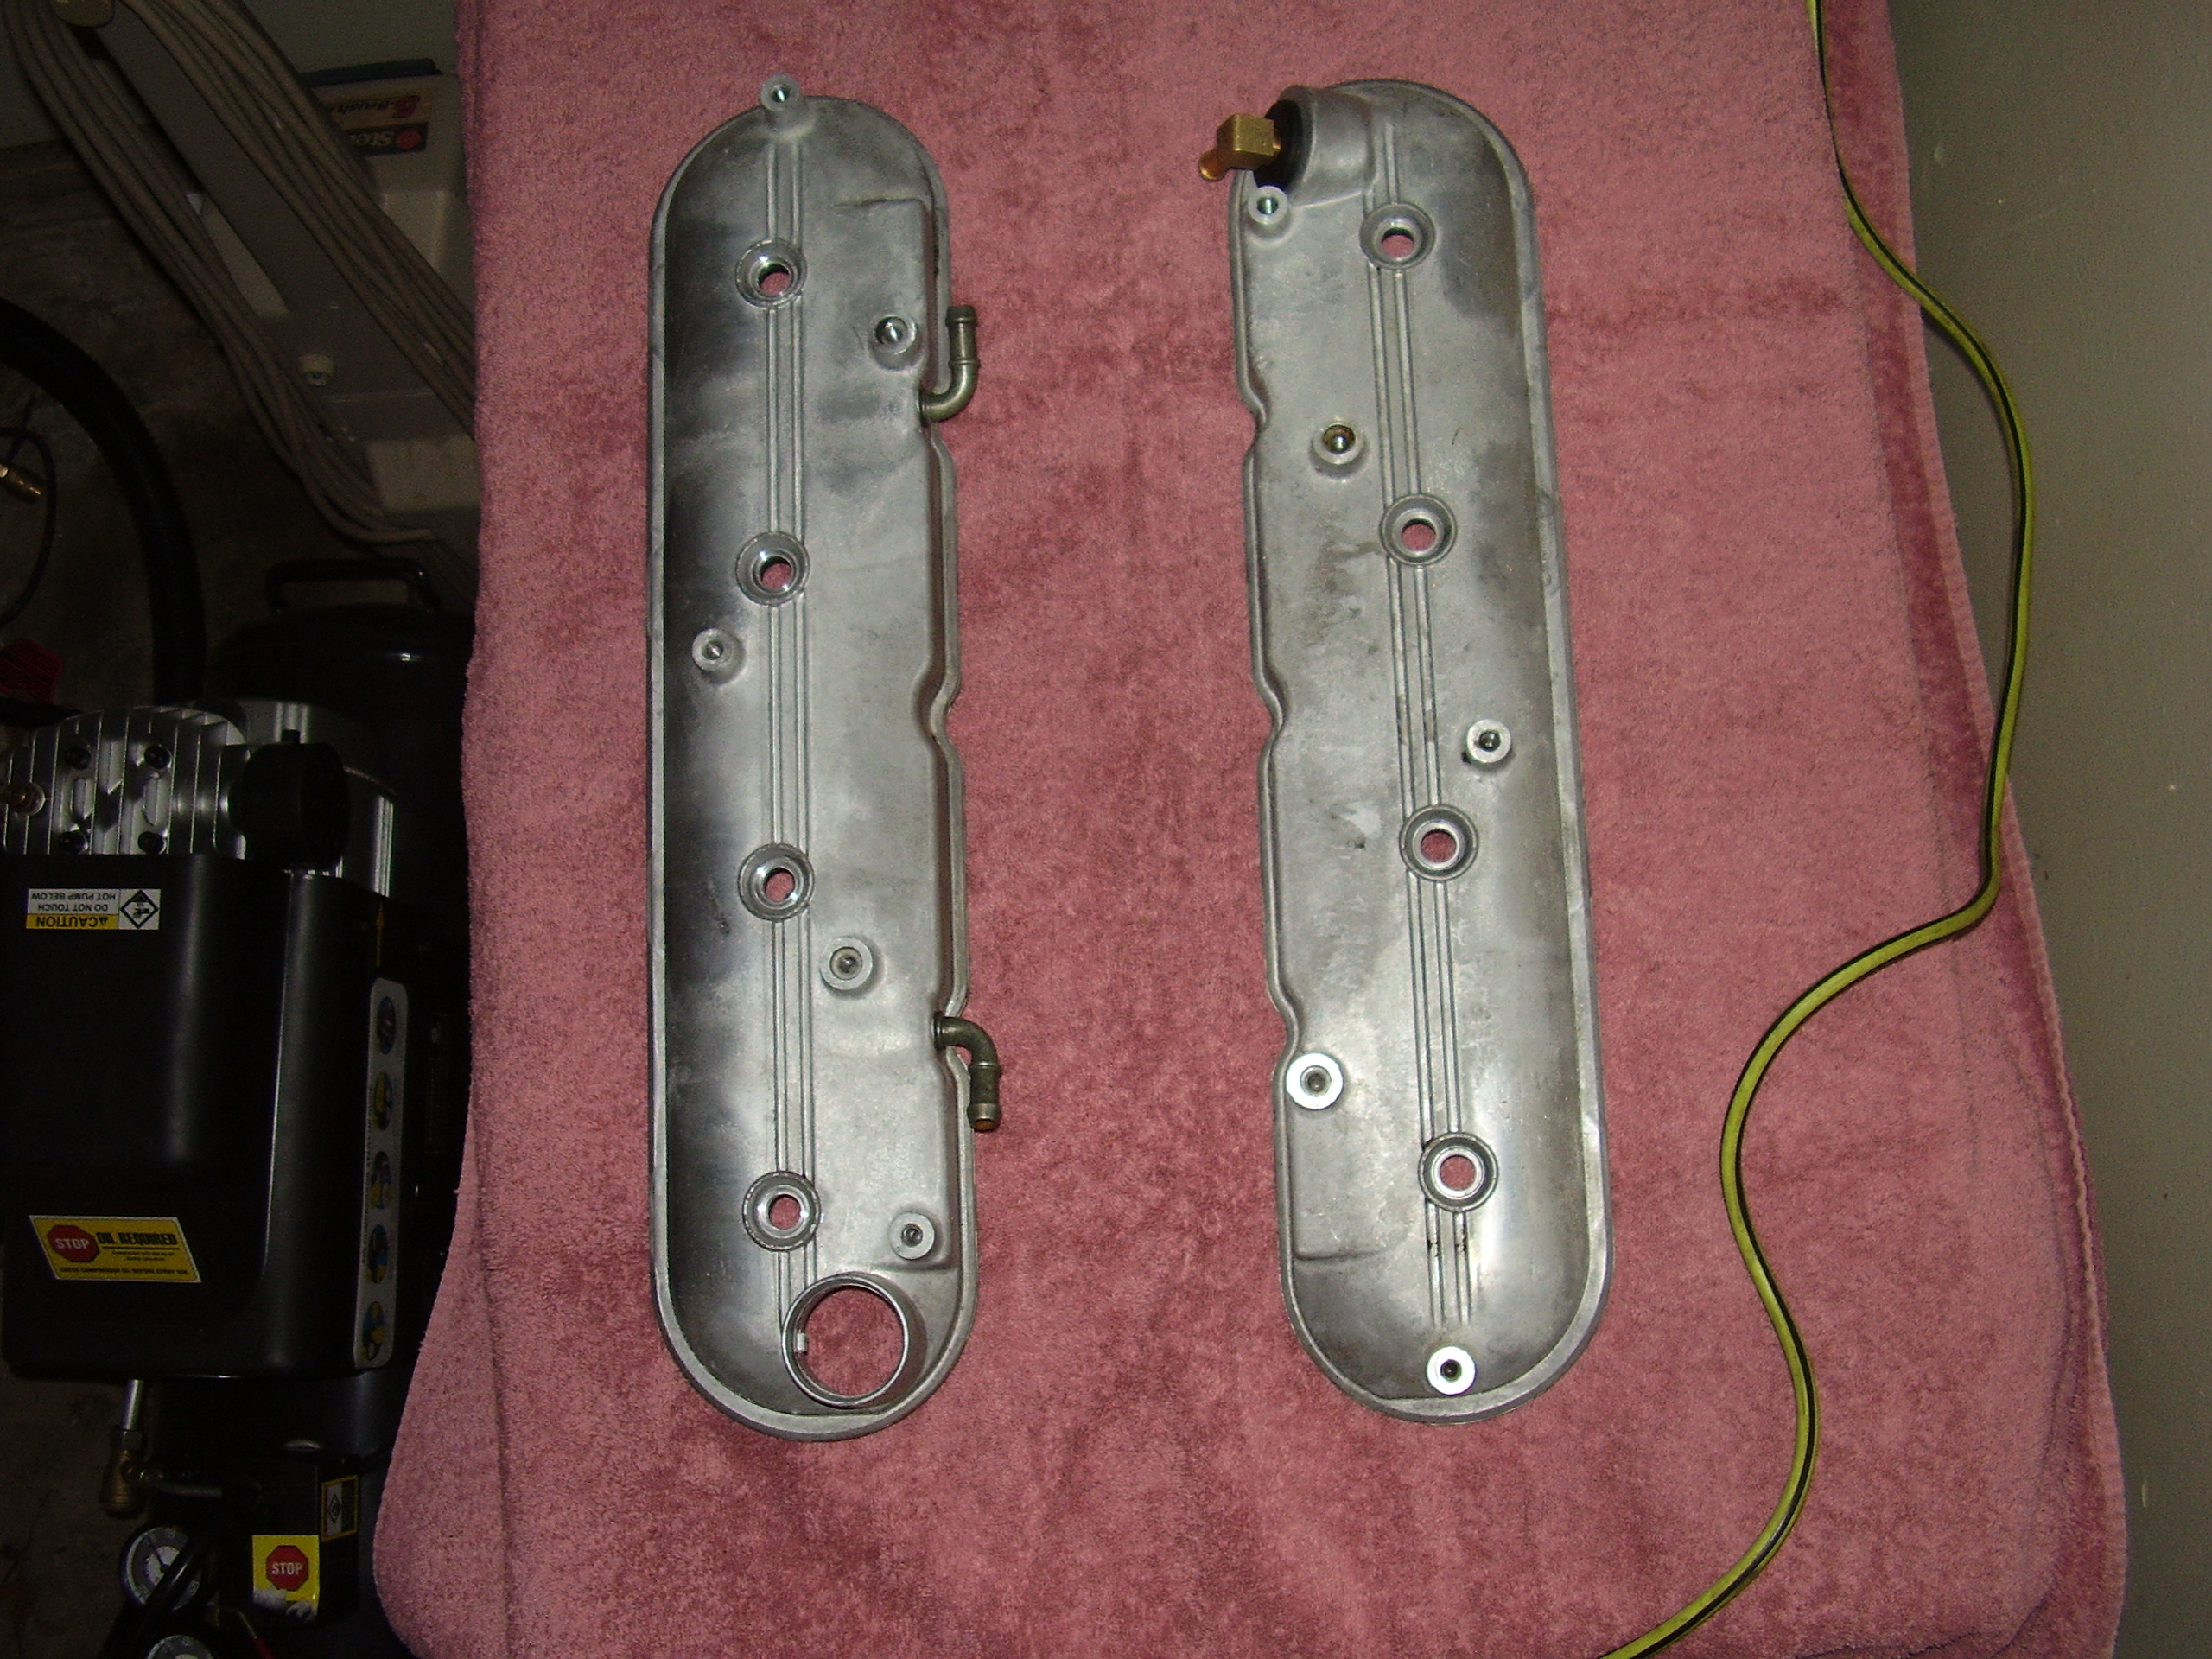
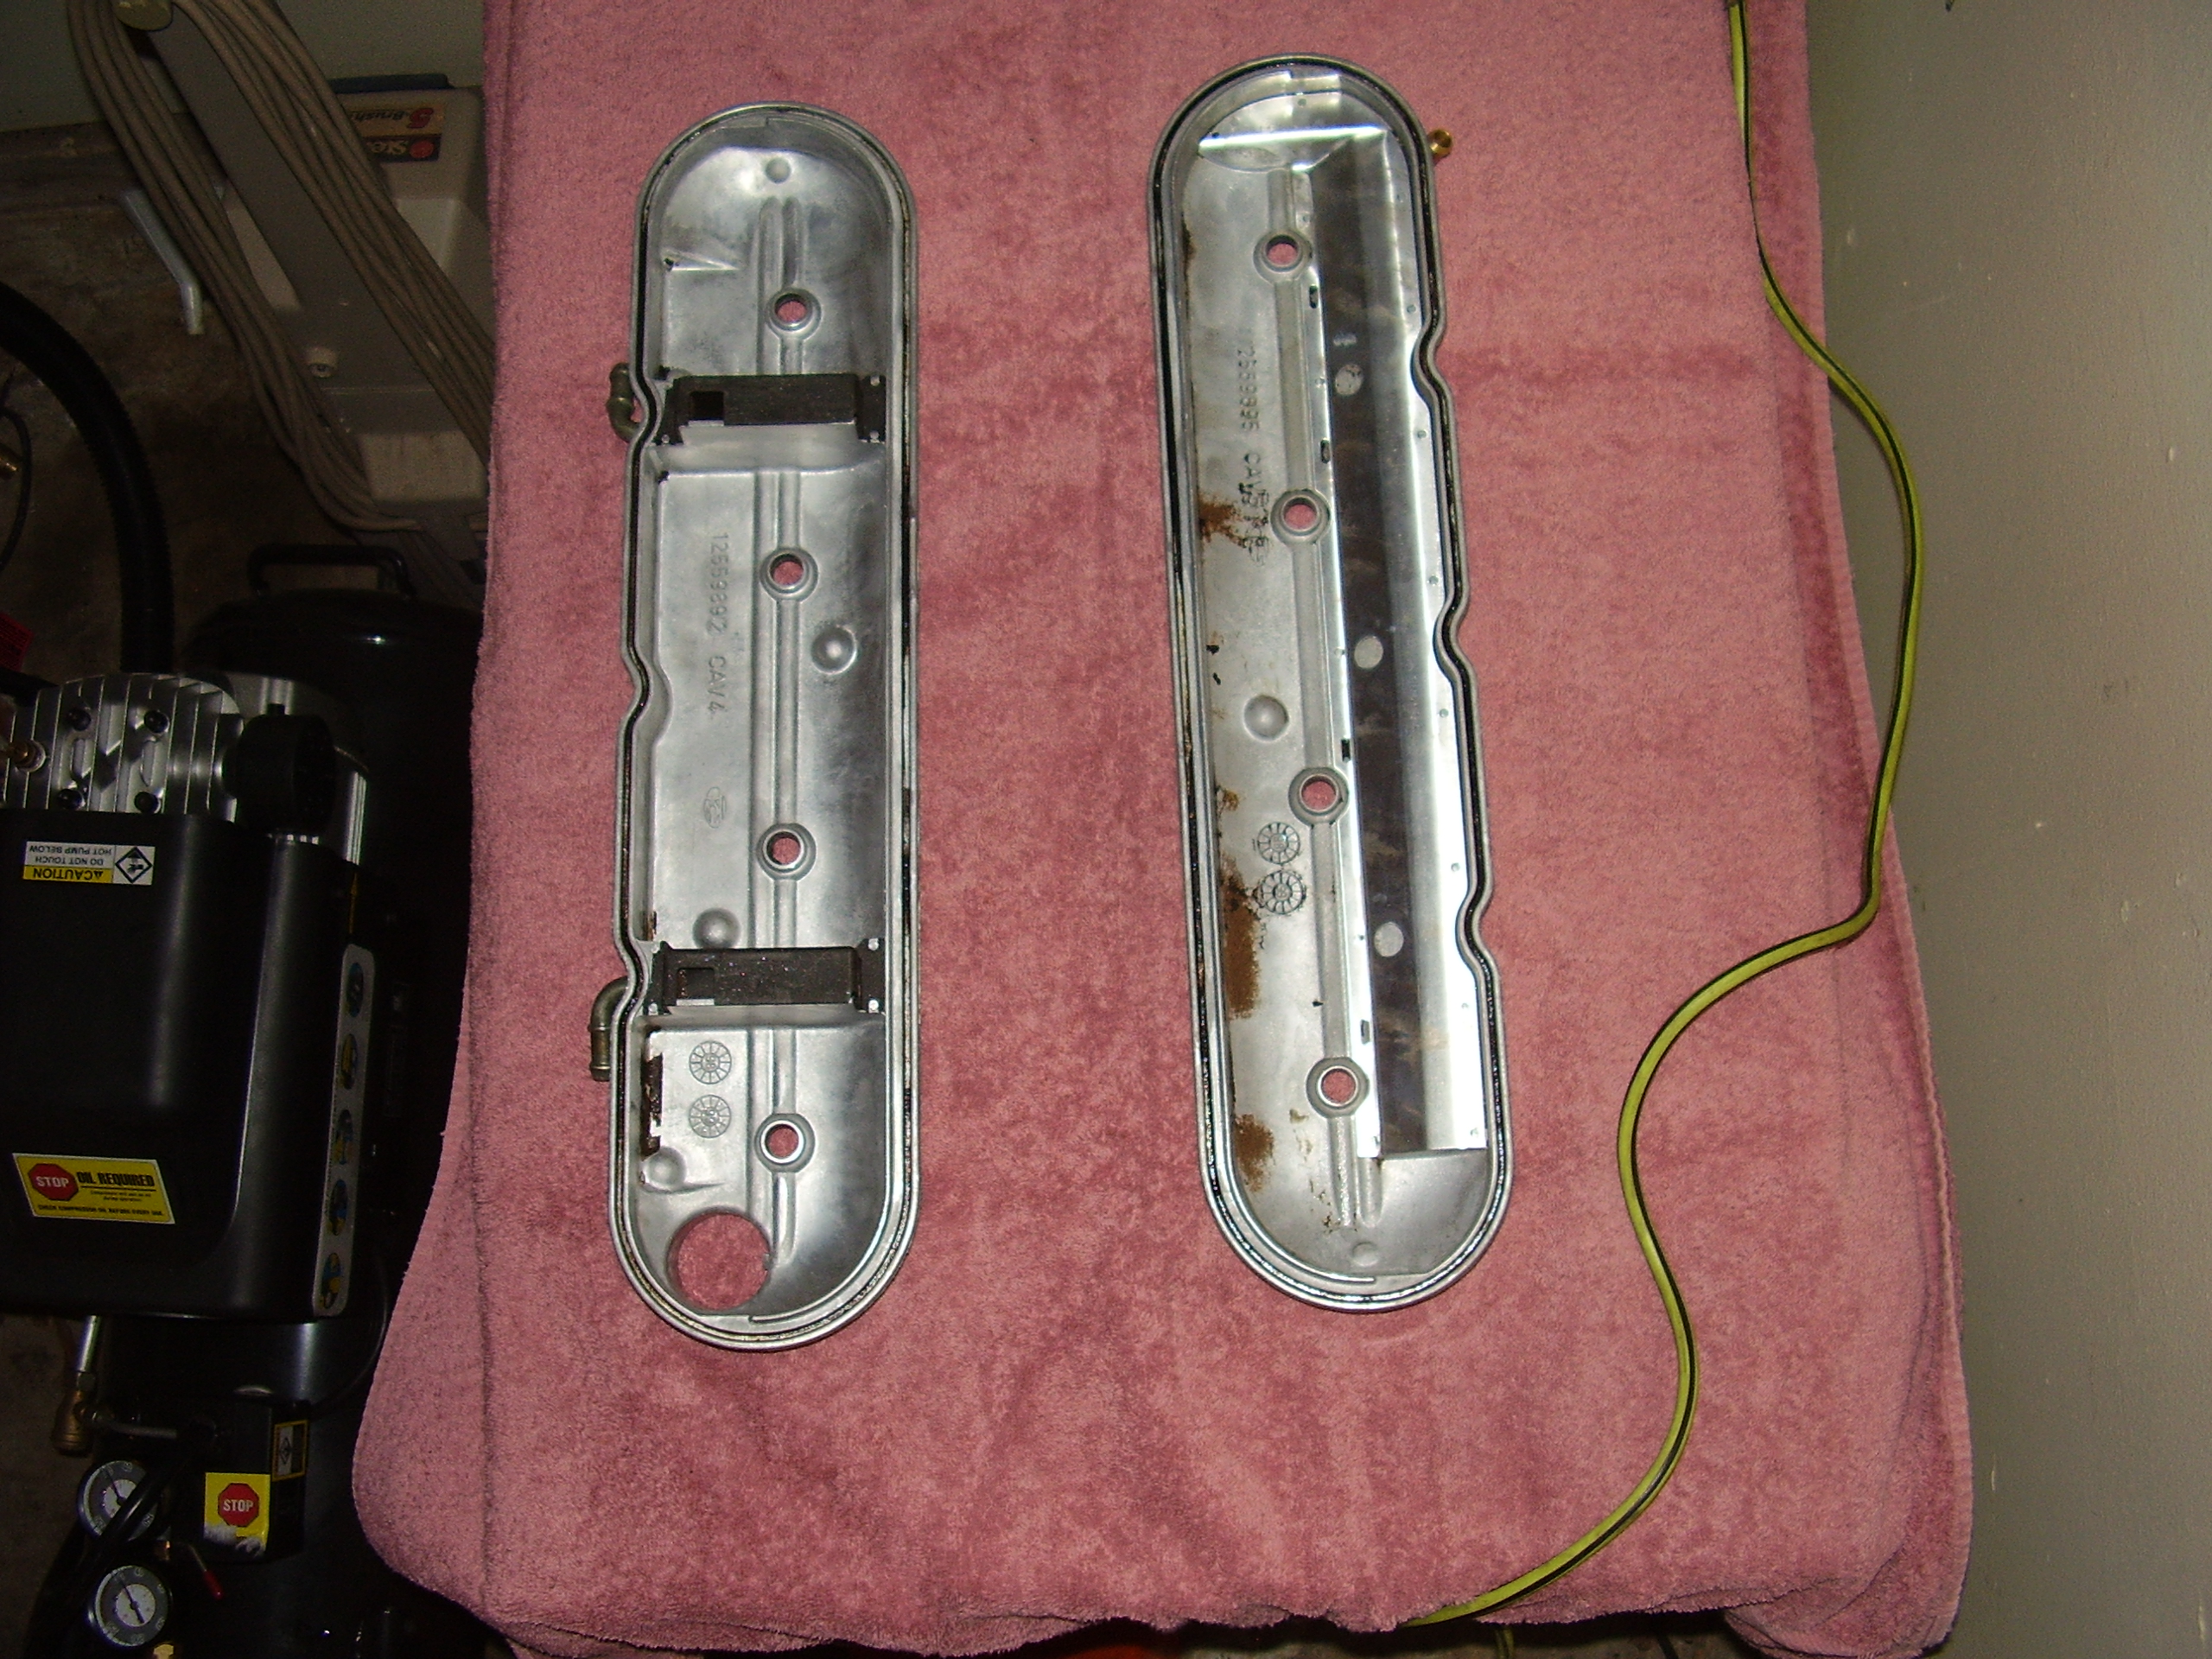
I re-blacked the coil brackets with a couple coats of paint but they were mostly fine.  I sprayed the covers with some red to try and match the color of the car and it went mostly well.  There were some spots where the burrs were or where I guess I didn’t scuff it up well enough with the 60 grit that the paint didn’t want to stick to.  I didn’t worry too much about it because of the aforementioned problems with the covers themselves so I wasn’t going to put too much time and effort into something I was going to replace in the future.  I tried to spray the coils some as well but I apparently didn’t clean them well enough as the paint went all splotchy on me which I assume was from oil residue I missed.  I will say that if you are standing at least 5 feet away and not scrutinizing it too closely that the covers look much better now.

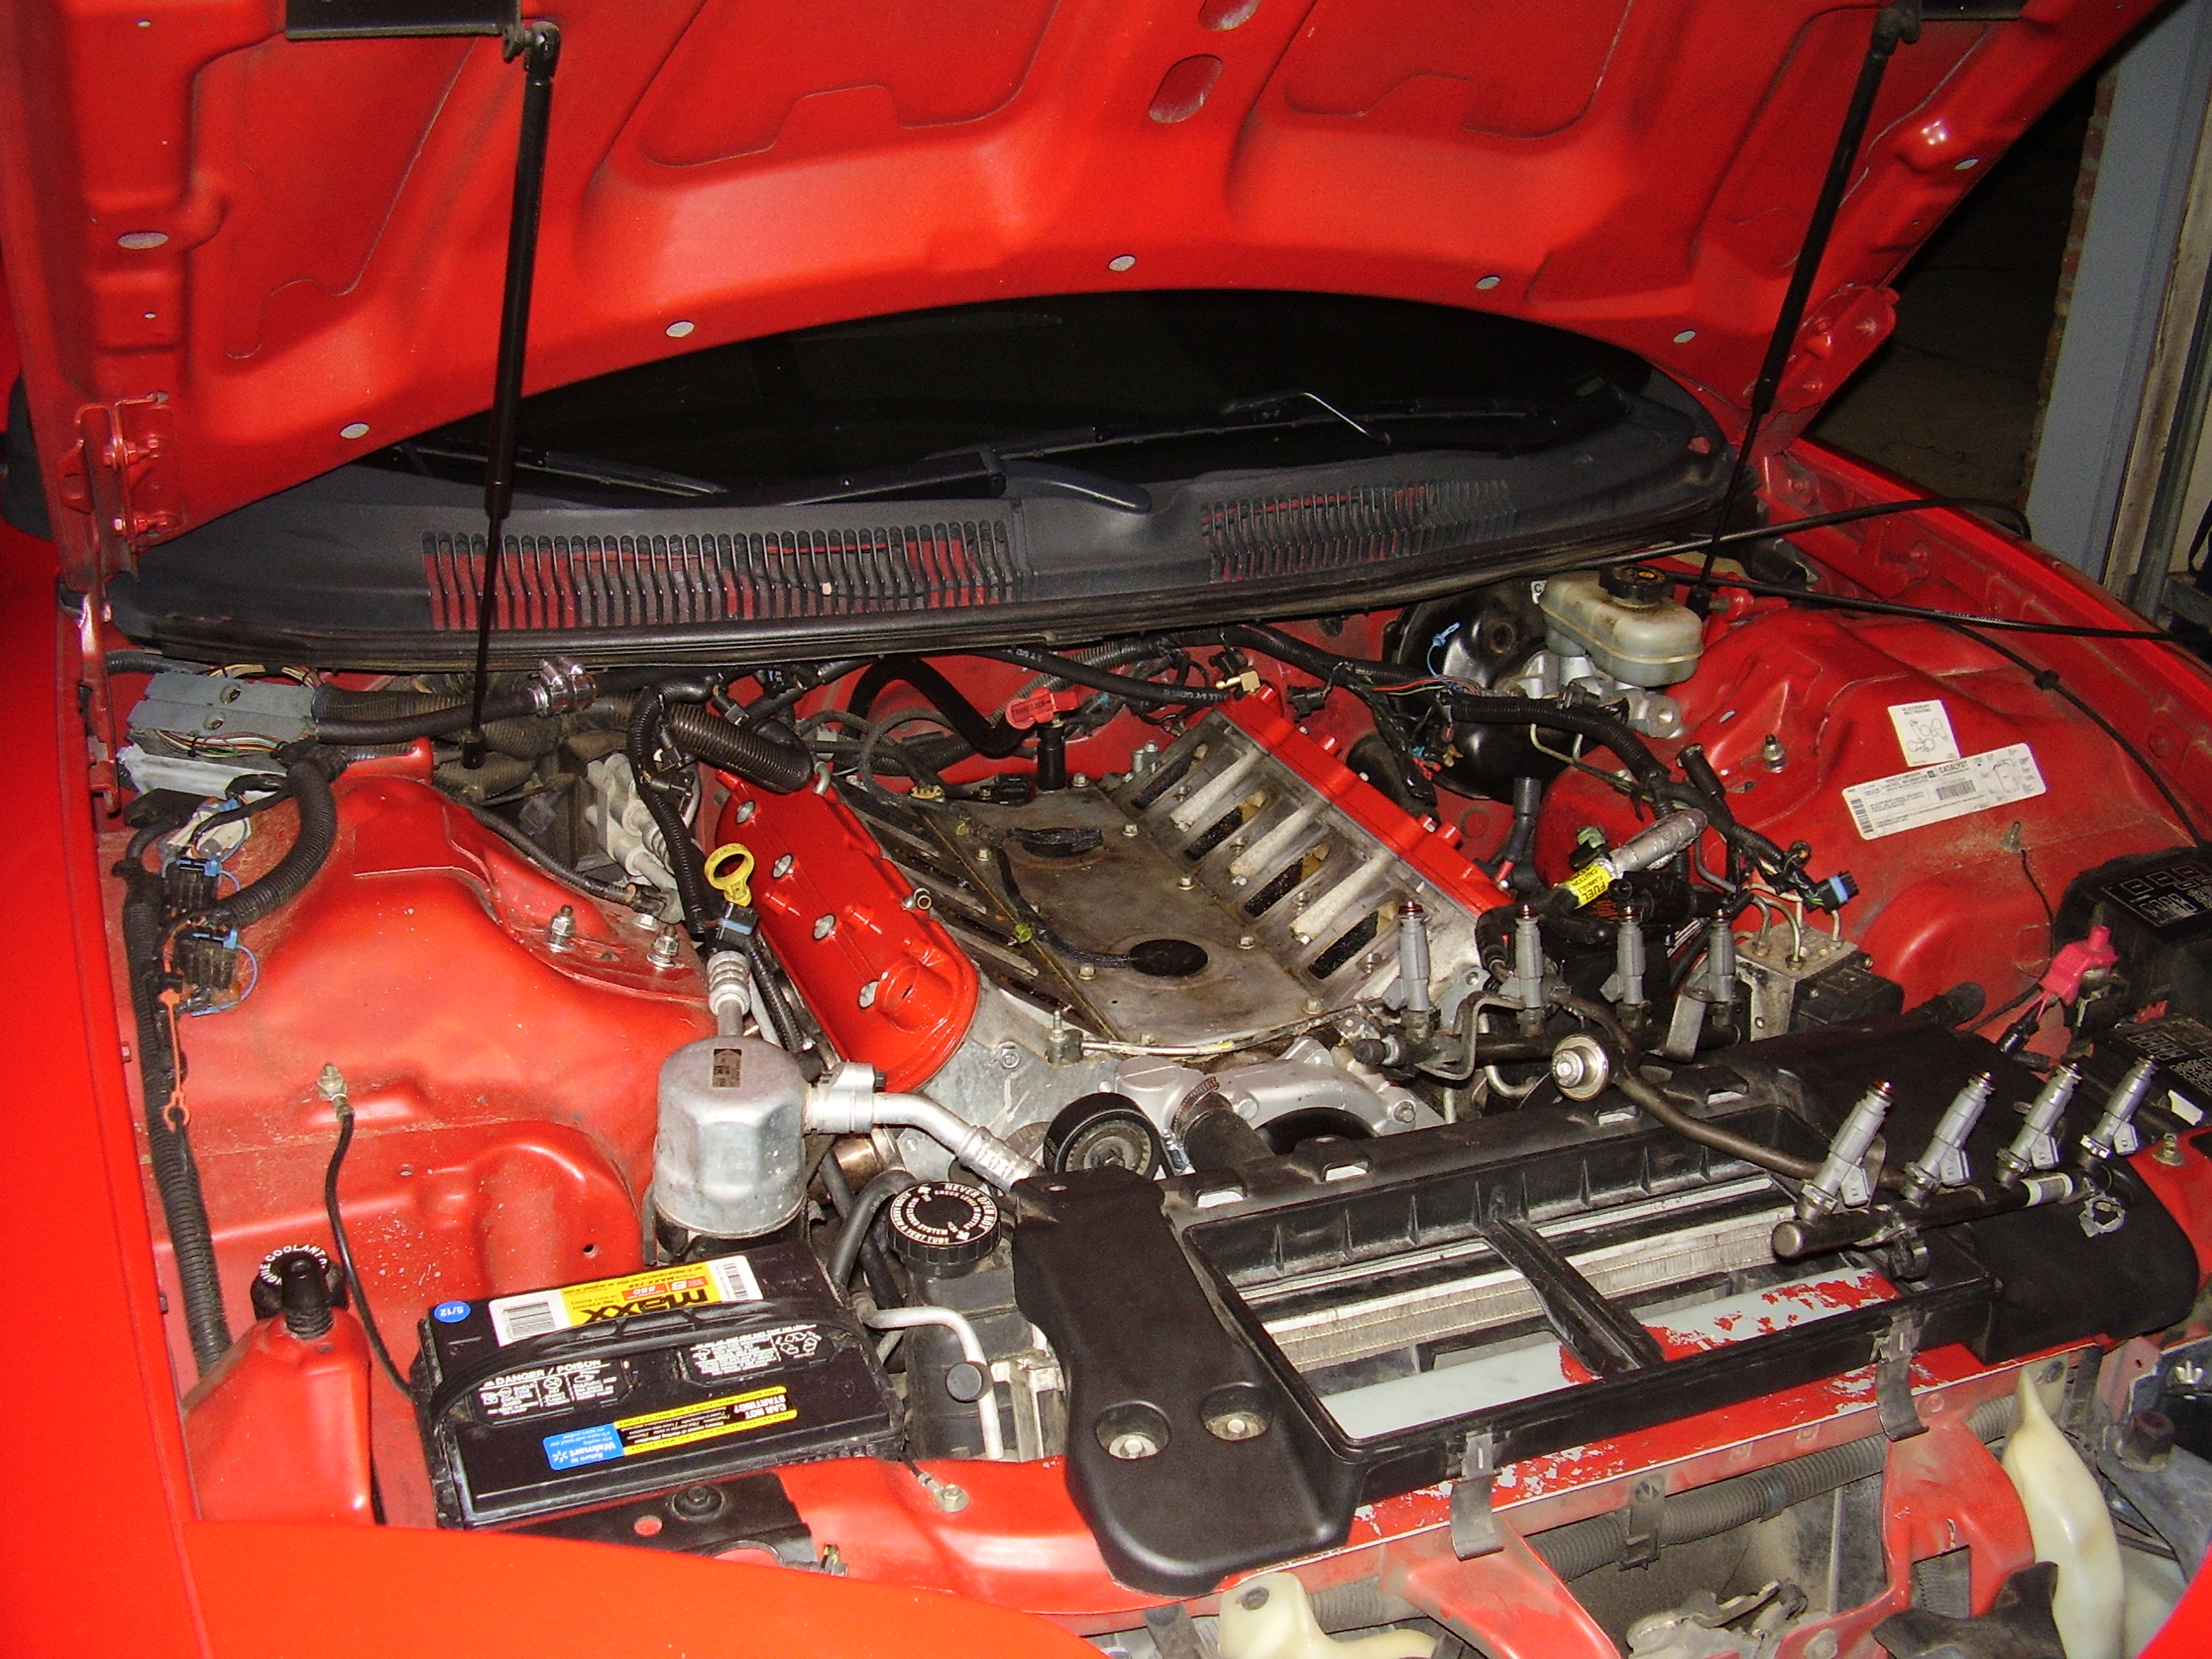
Here is a shot of the covers after mounting them back to the heads before stacking everything else back on.

Mounted Covers after Painting


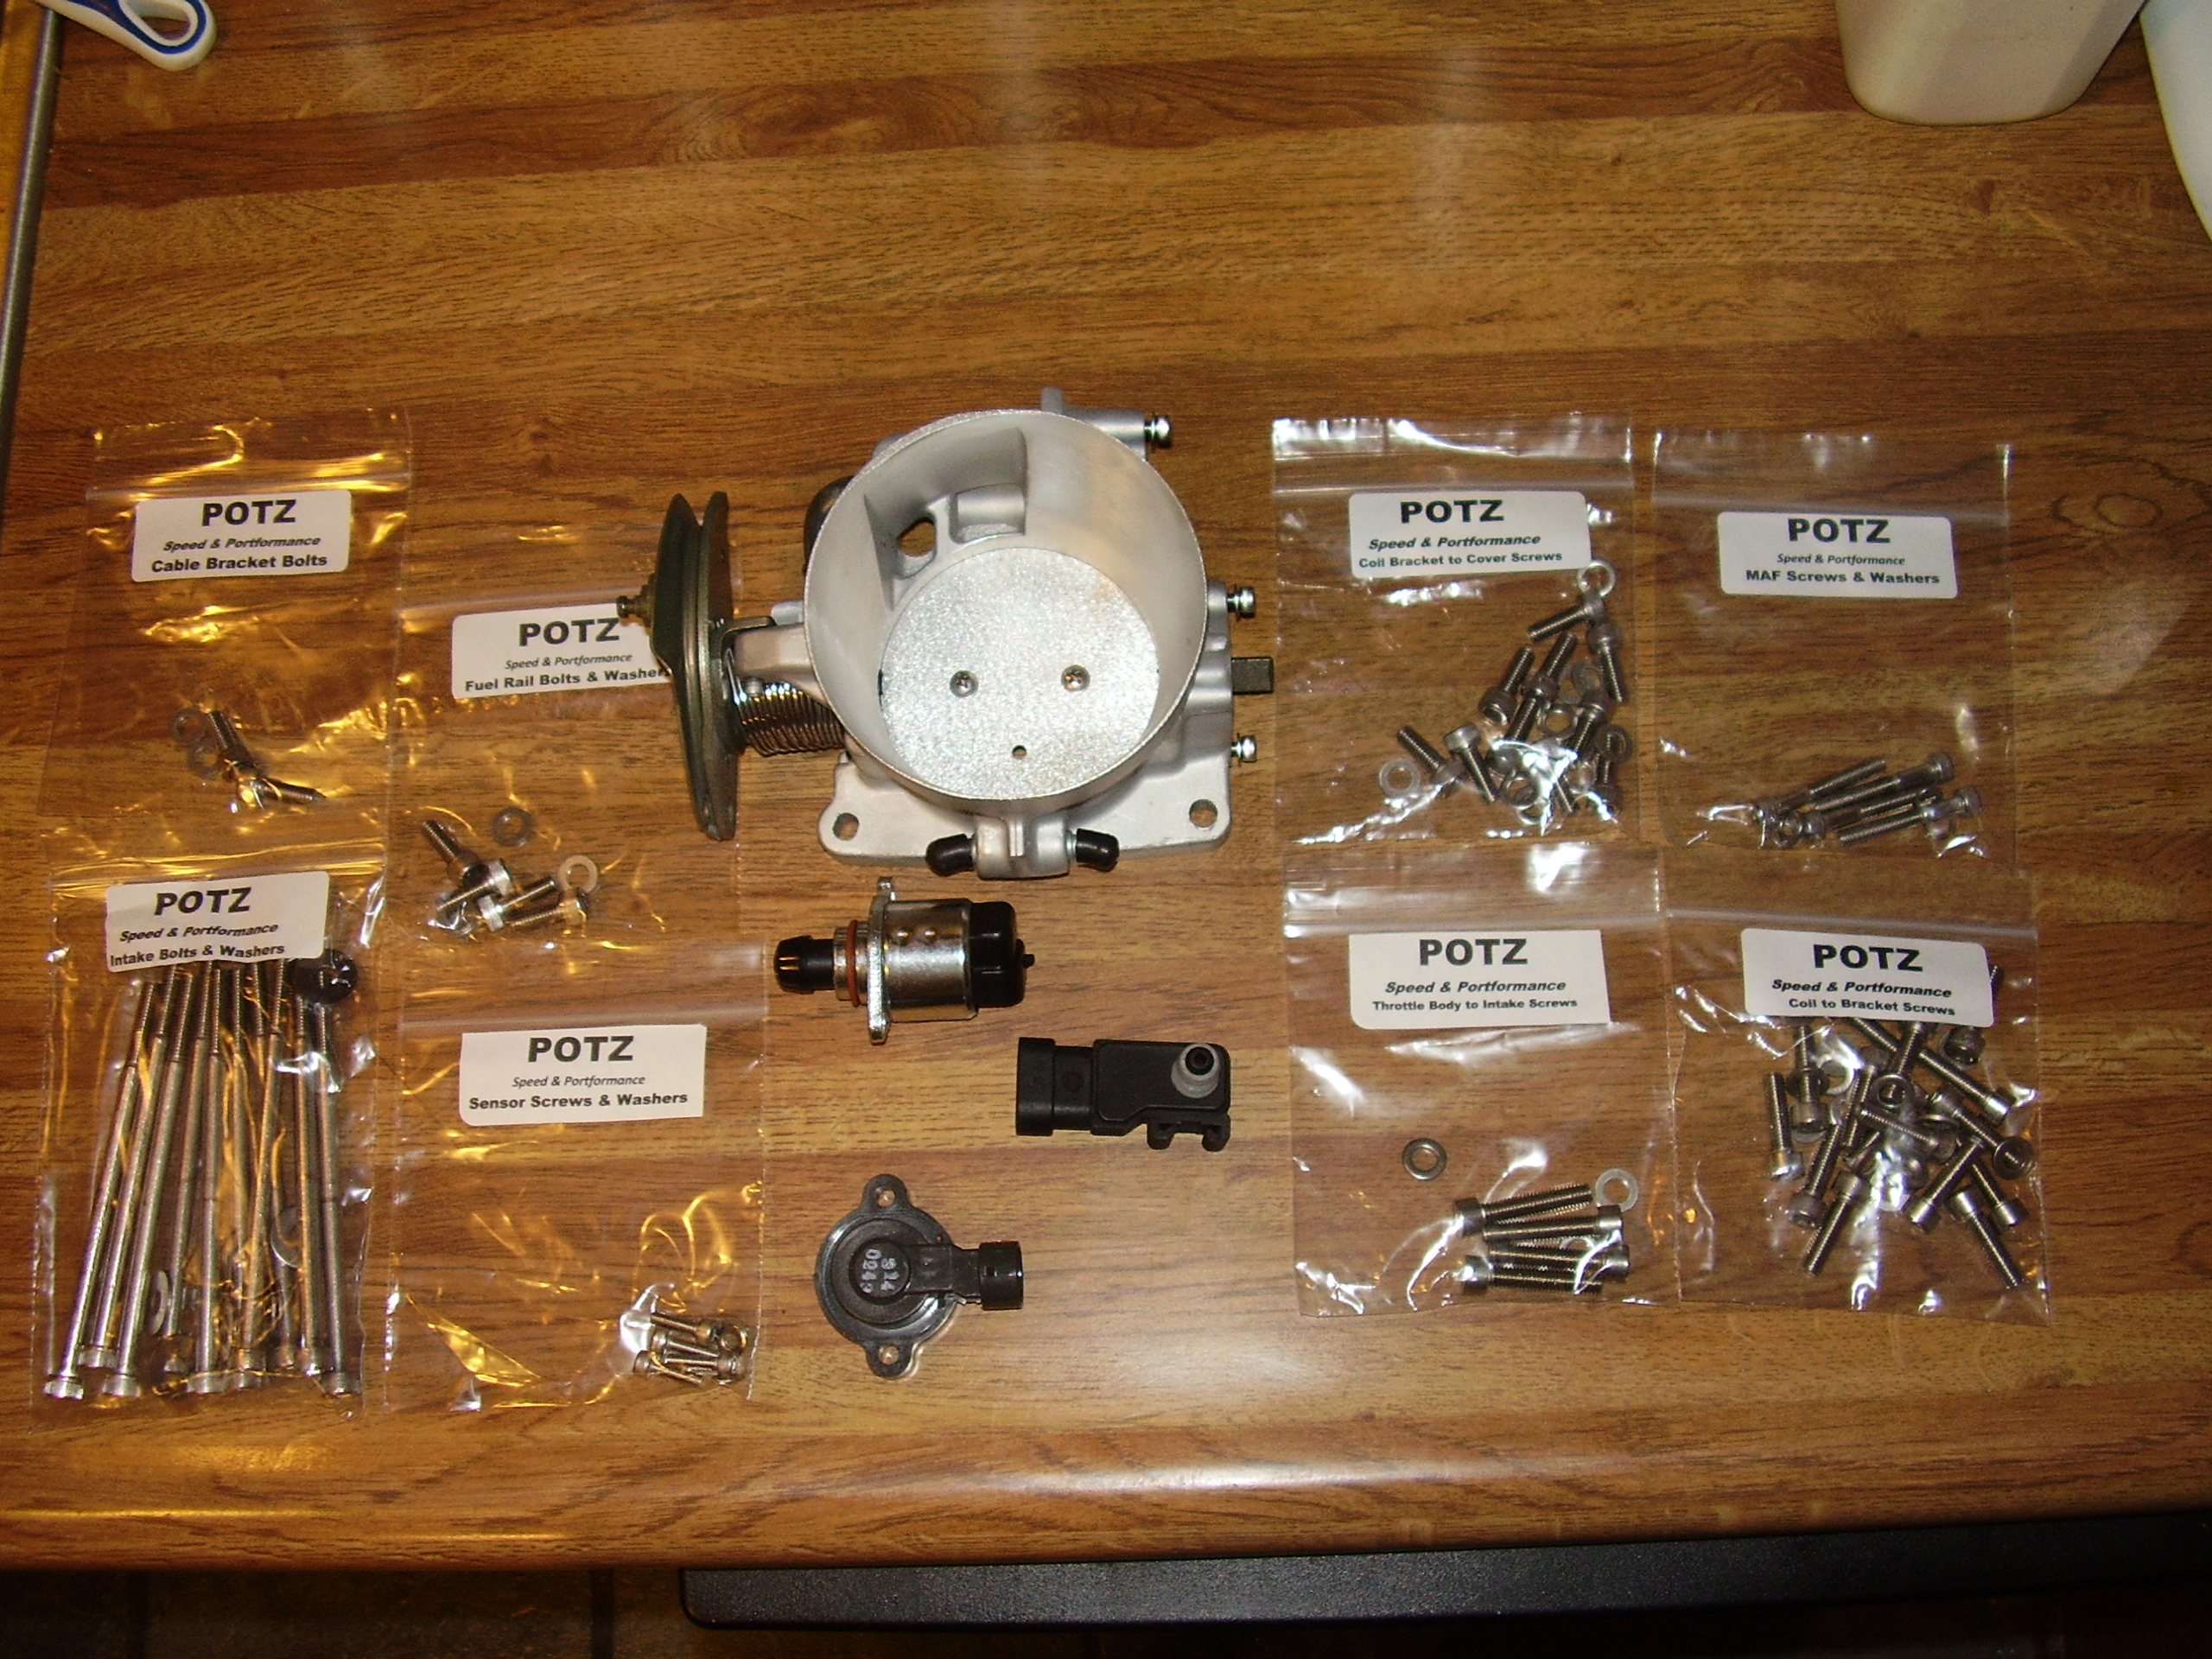
And here is everything fully assembled.

Assembled after degreasing


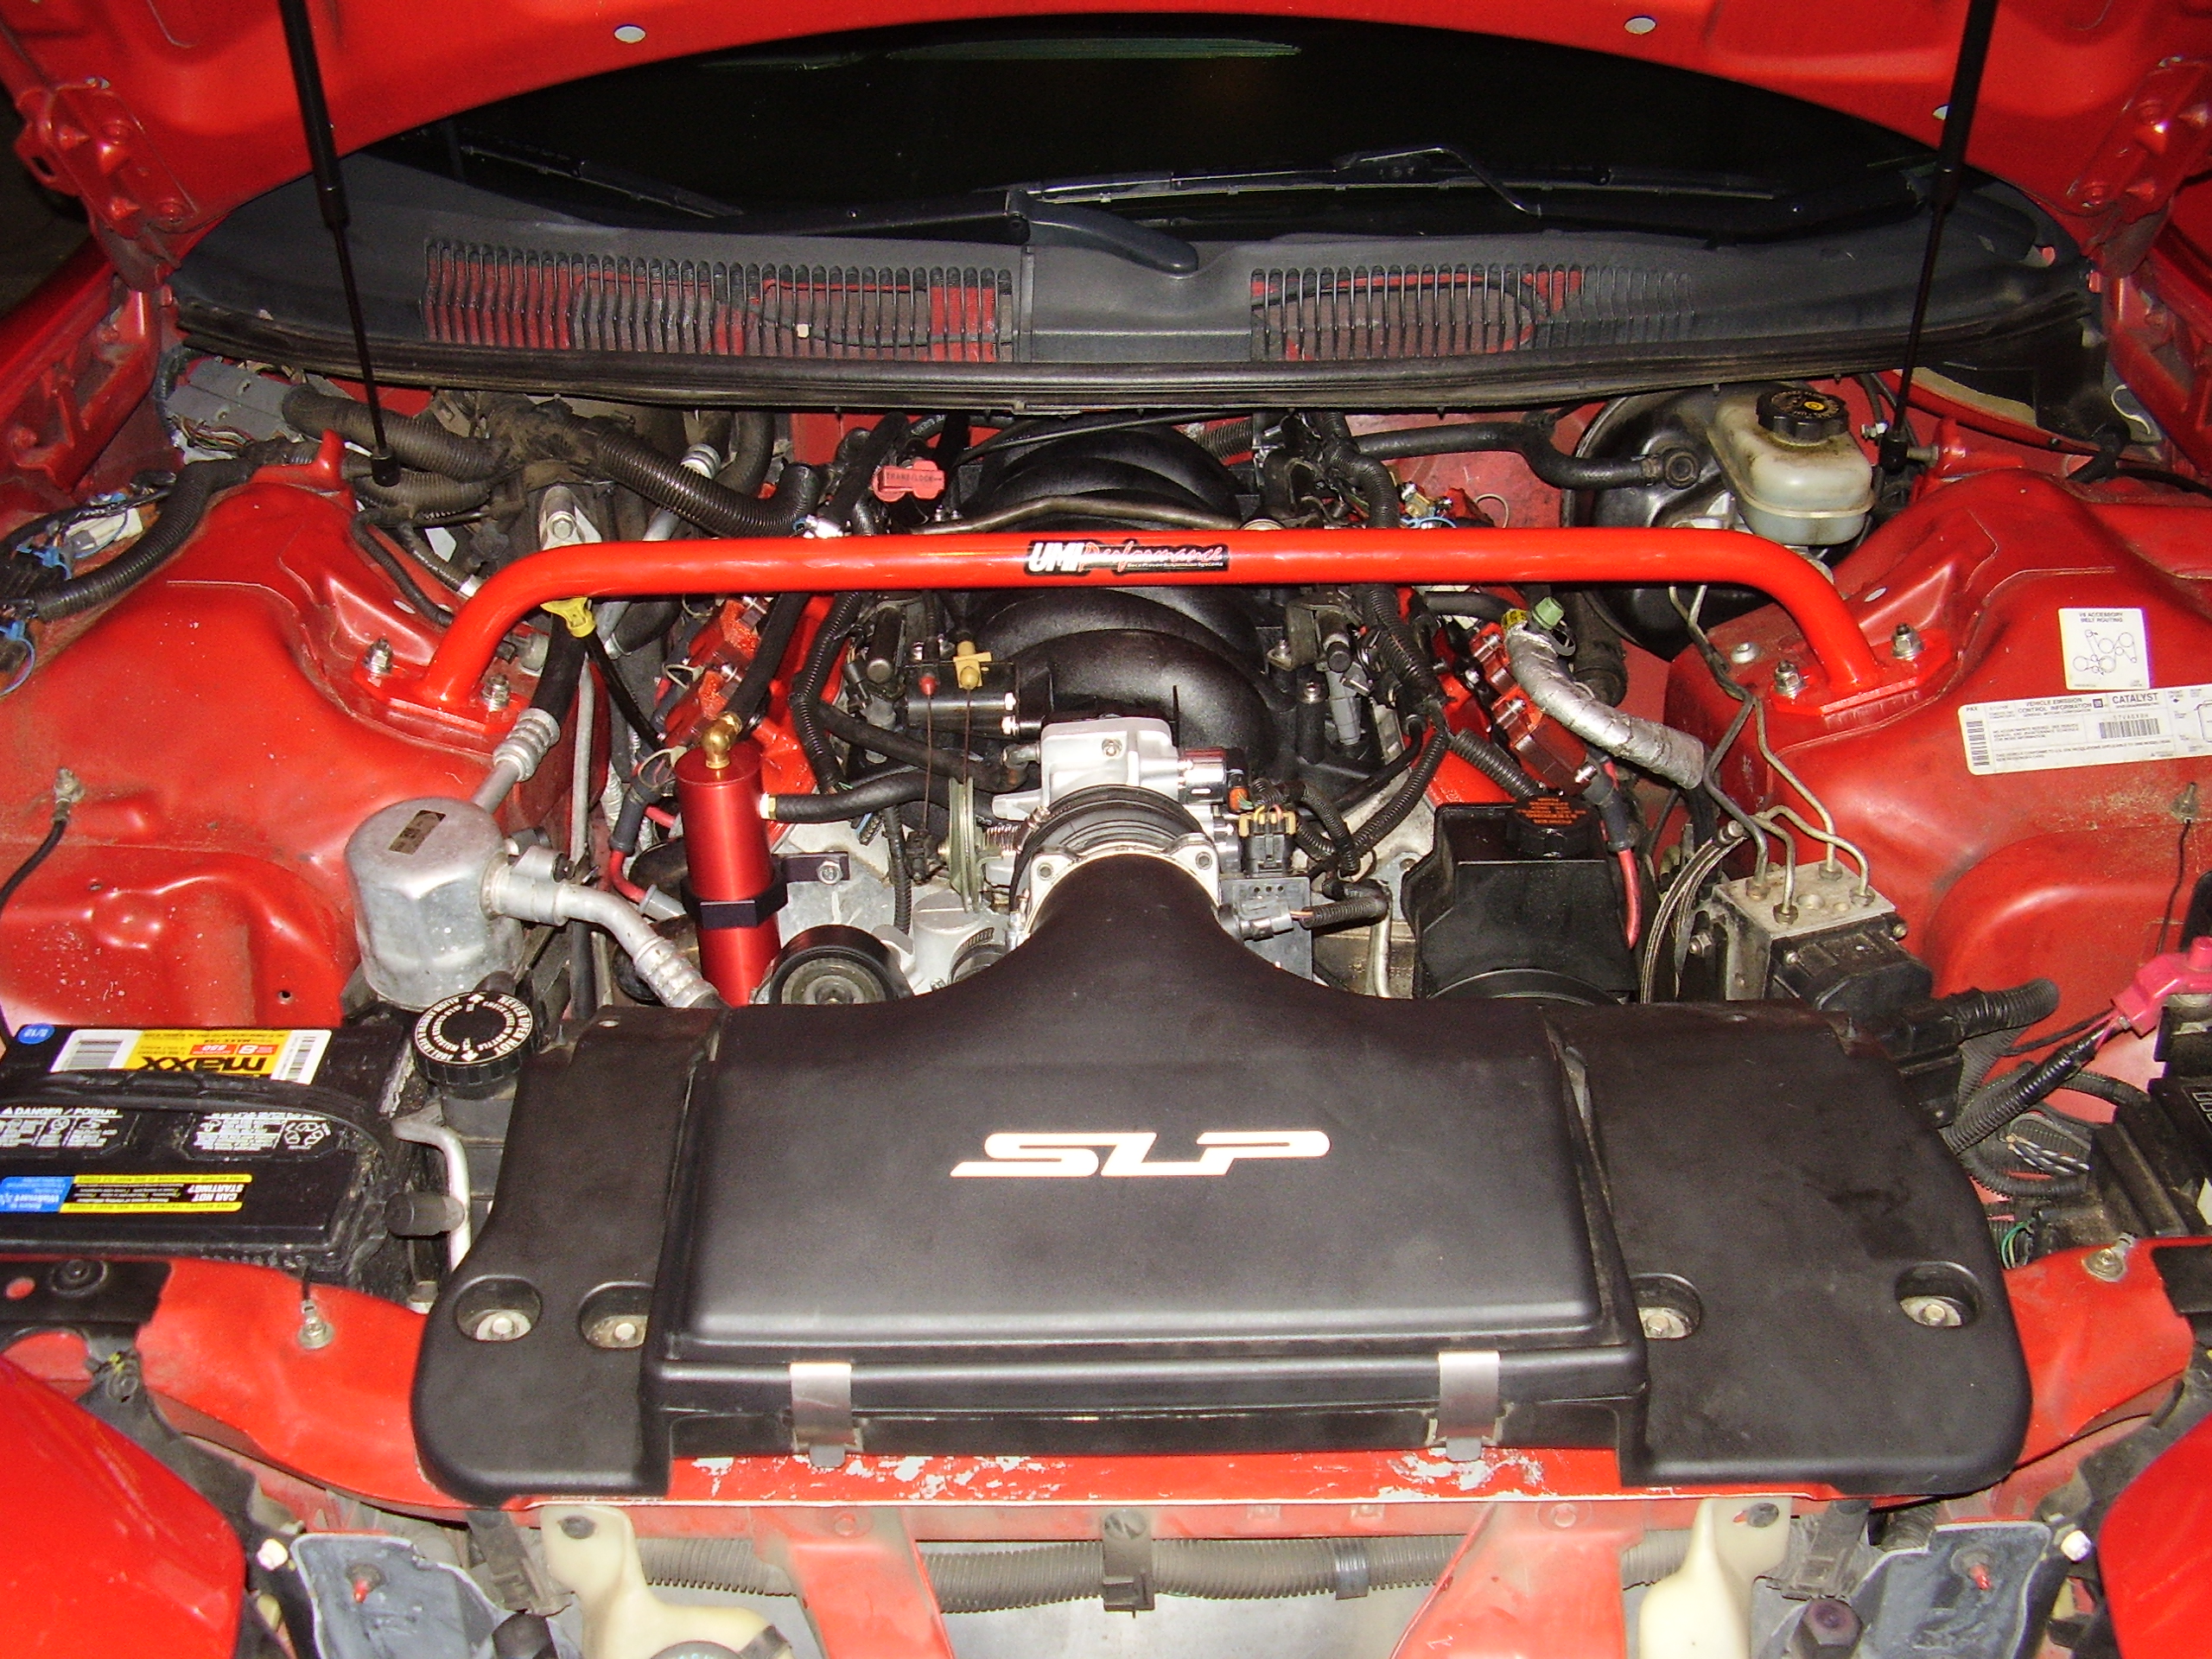
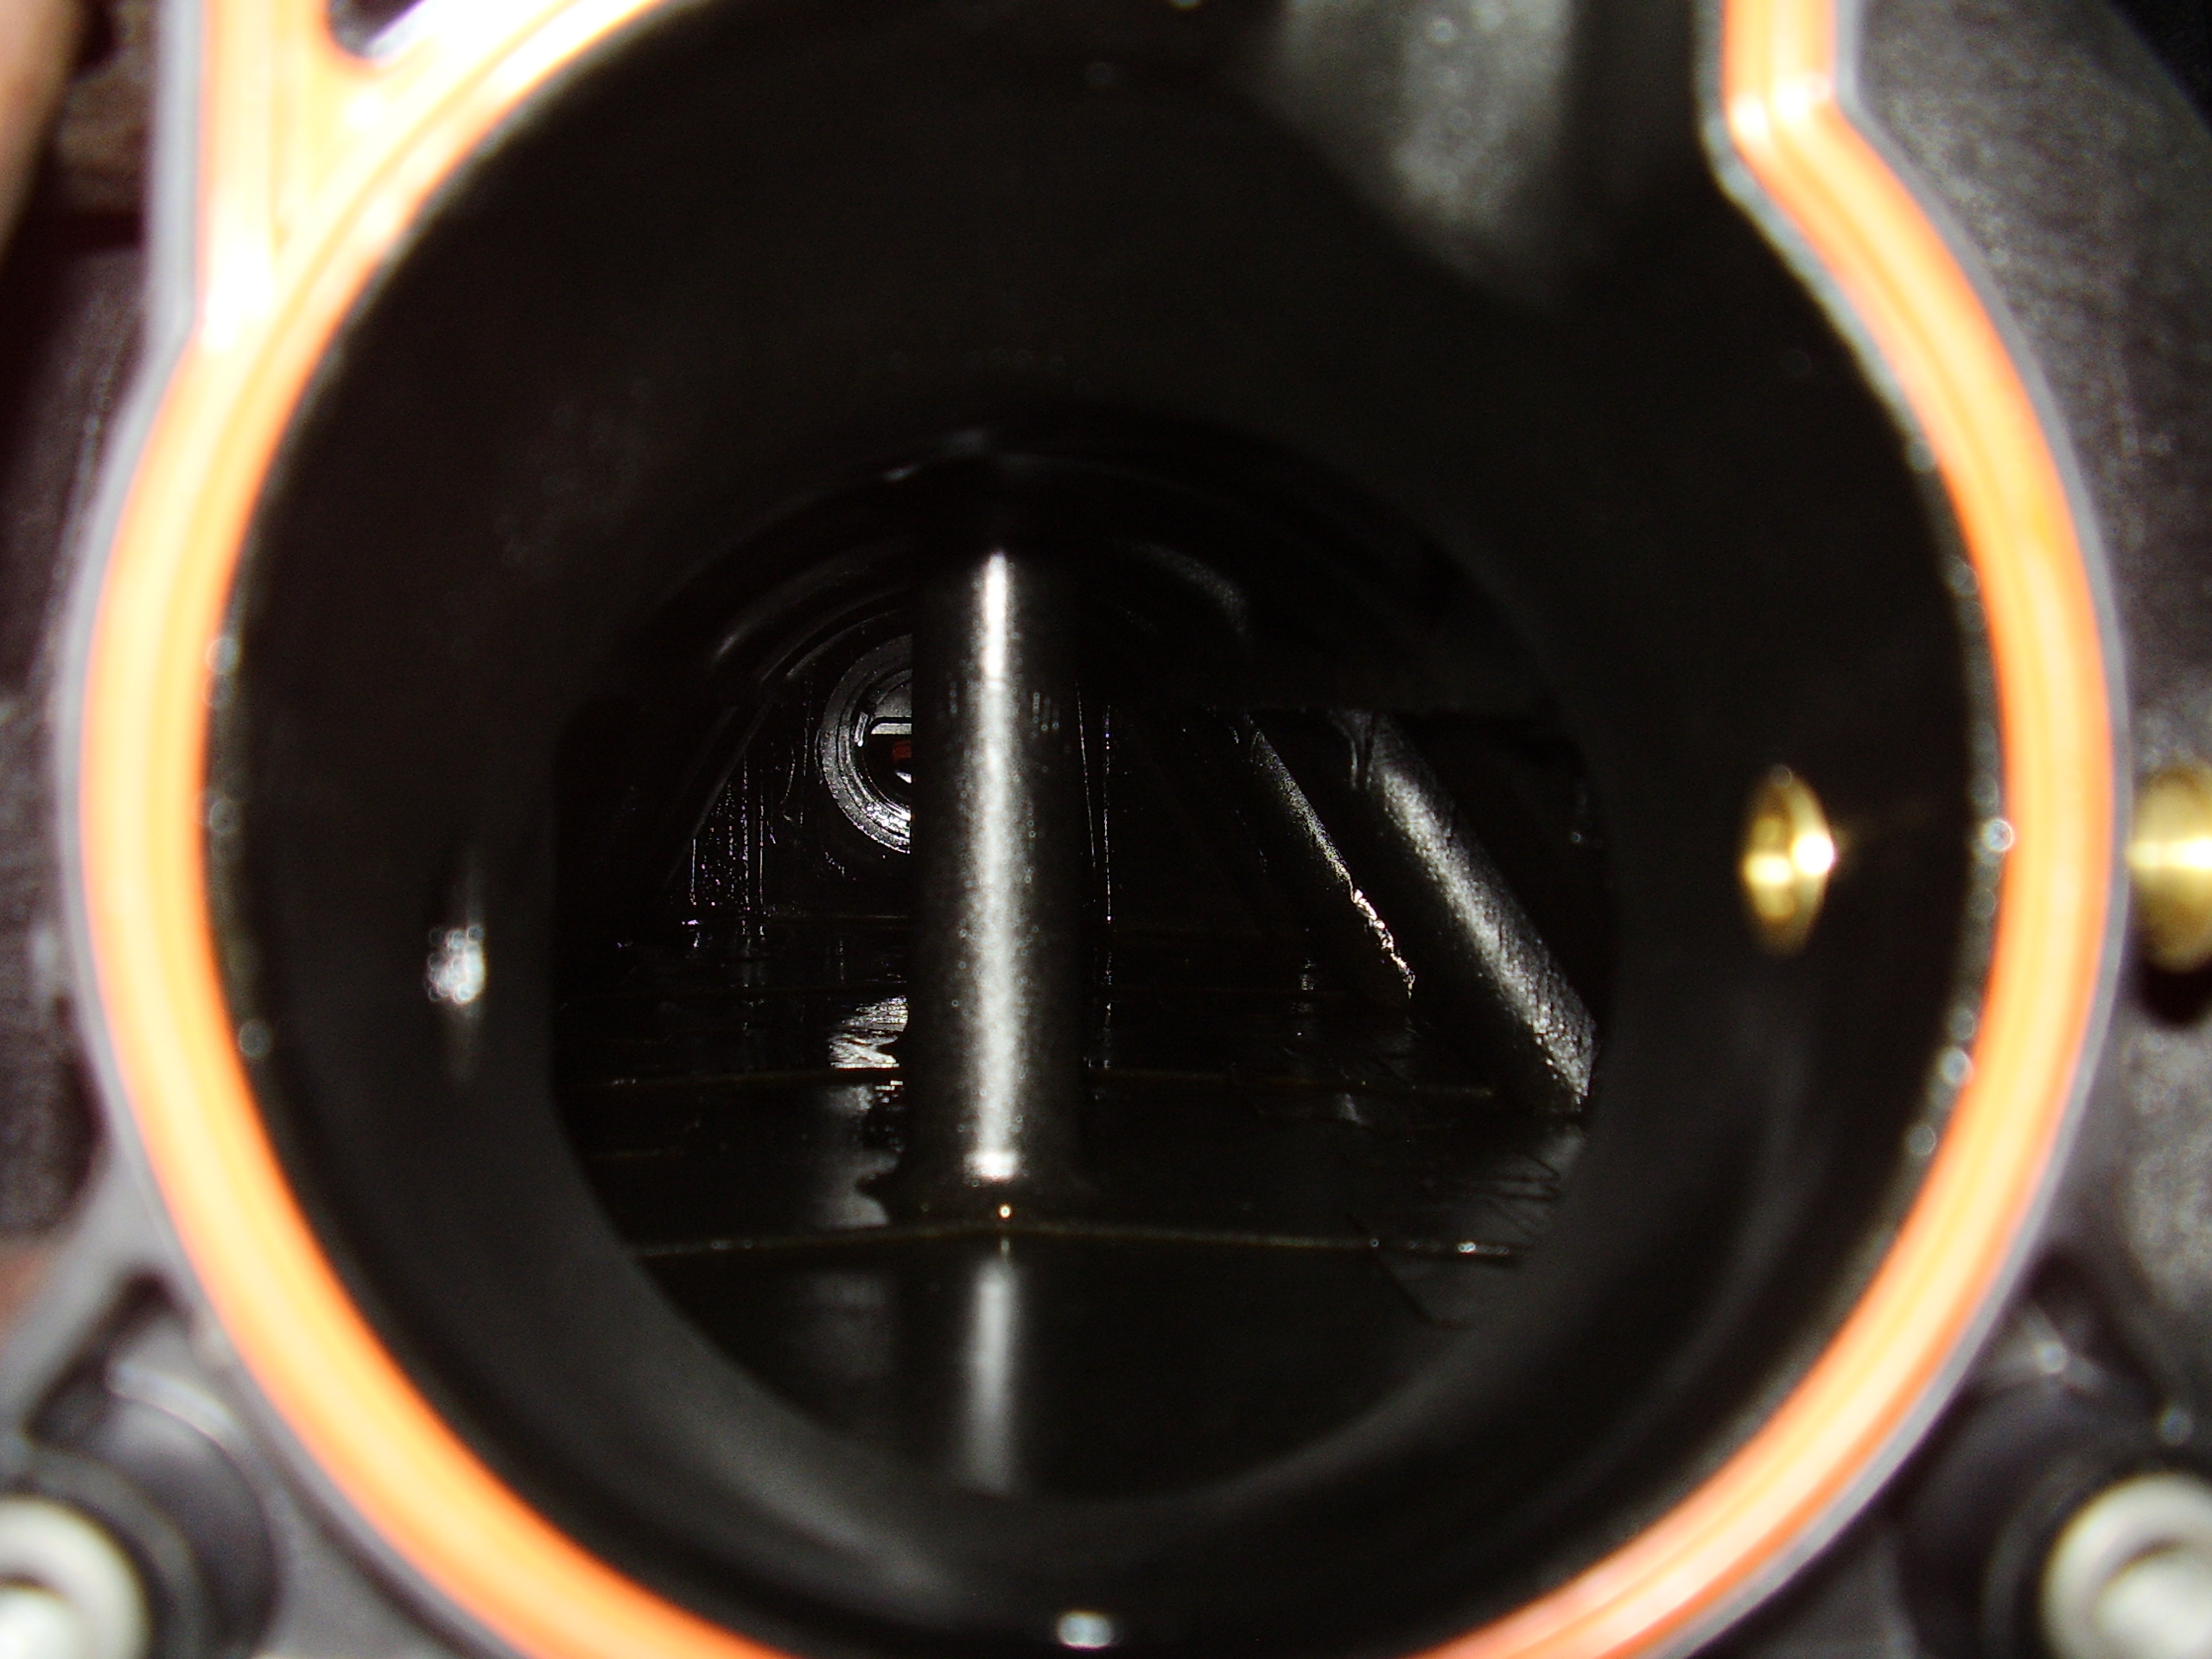
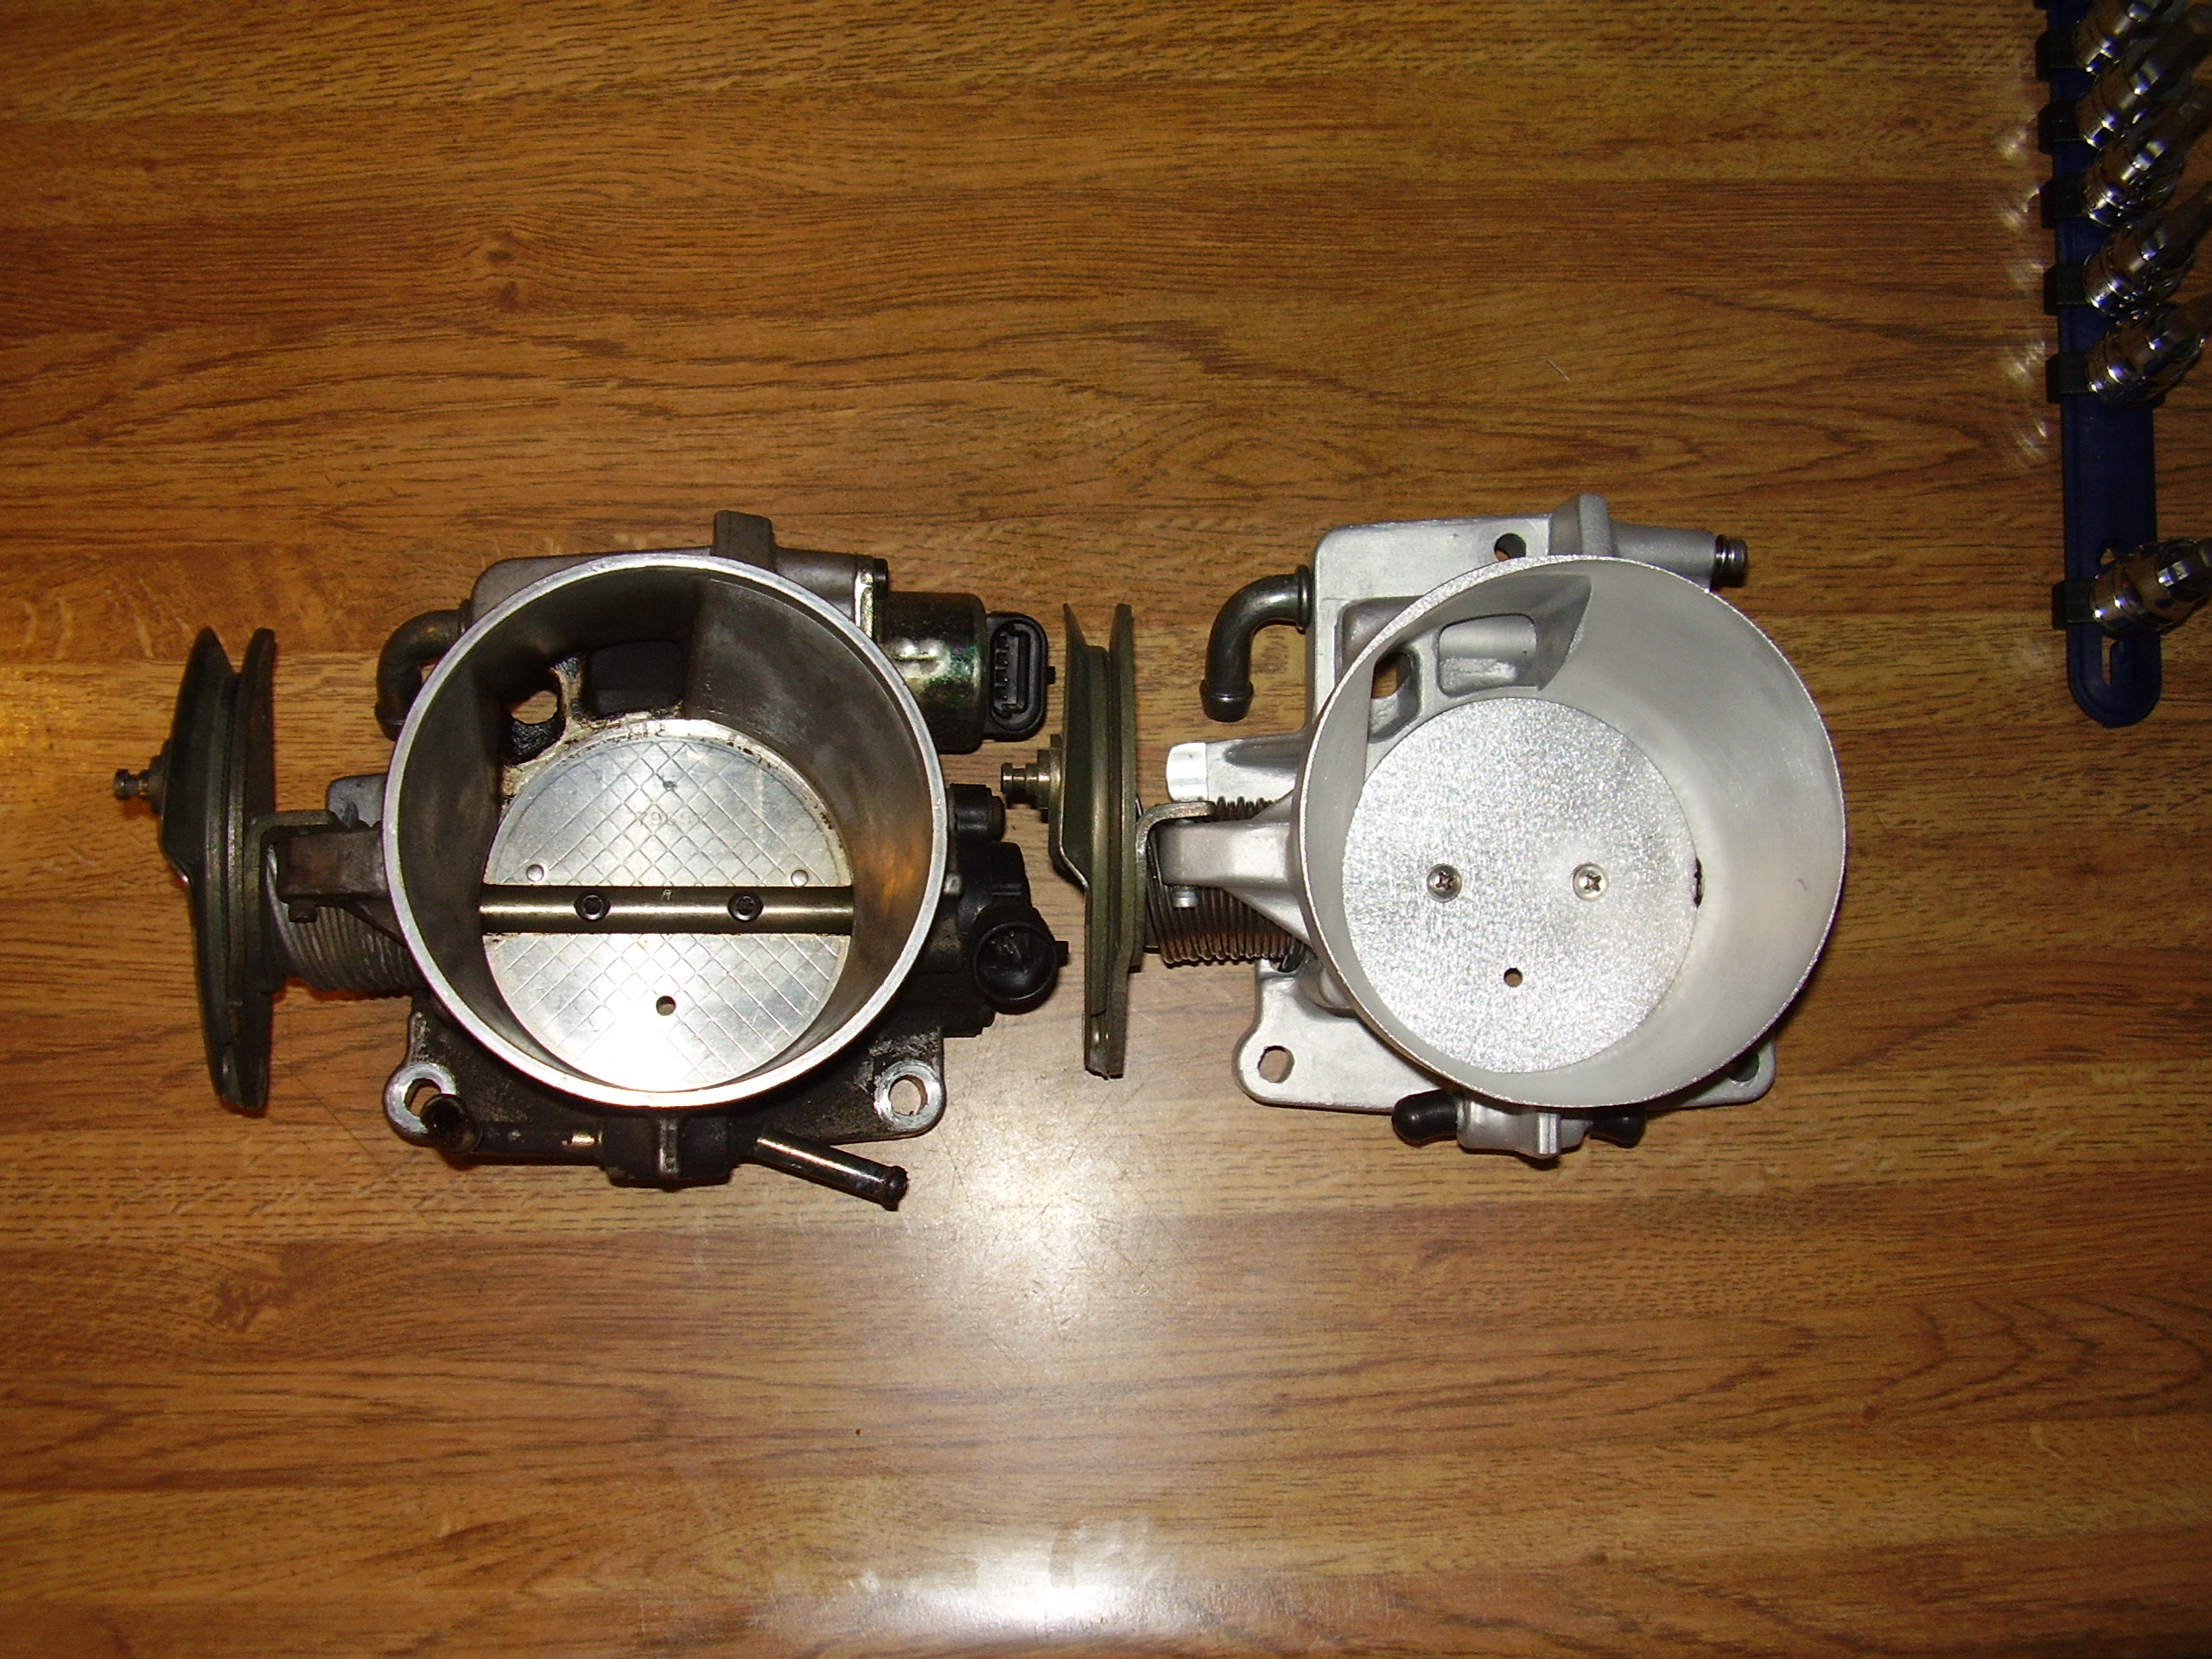
The new PnP TB seems to have smoothed out the throttle alot.  I have only had it on for a few days now but so far I have not experienced any attempts of the cam to push through the brakes like it tended to do sometimes beforehand.  This will of course be fully corrected once I am able to swap out the stock torque converter for one that is better built and rated for a higher RPM flash.  This will not only resolve any poor driving manners the car has put will also put me where I need to be in the powerband of the cam much sooner.  I also like the new accent that putting in stainless bolts has over the stock equipment.


Top end refresher

I started a project this evening that is mostly a clean up job but does have one aspect that will boost the fun factor a little bit.  I pulled off most of the top end of the car in order to get rid of the oil build up that occurred since putting everything back together at the end of the summer and installing the catch can last month.  It really was astonishing how much oil was getting through the stock PCV system and into the intake tract and therefore the cylinders.  It was only about four and a half months and approximately 5000 miles since I put everything back together in Sept and when I installed the catch can in Feb.  Here are some shots of how oily everything became in that short of a time and distance.

The runner seals were completely coated as was the MAP sensor.  I am sure that was causing some slight havoc with the pressure readings in the intake.

Oily Seals  Oily Intake 1

The inside of the intake also had a healthy film of oil all over it.  When installed in Sept it was bone dry.

Oily Intake 2


A couple shots of the buildup around the intake runners of the heads.  There is so much from around the seals that it is just oozing down the head.  You can also see that for a good couple inches into the intake runner itself there is a black buildup of oil residue.  I am sure that the next time I pull the heads that the pistons will be filthy with oil and carbon buildup.

Oily Heads 1  Oily Heads 2

Here you can see just how much oil the catch can has prevented from getting into the throttle body and intake since I installed it less than a month ago.  This is from approximately 600 miles driven.

Catch Can Results


The valve covers were just absolutely filthy as well.  I had tried to do a little clean up on the at the end of summer when I did the cam swap but you can see they are still pretty dirty.  And the inside has substantial buildup as well.

Dirty Valve Cover  Dirty Valve Cover 2

So once I had everything broken down I tossed it in a tub and gave it a degreaser bath.  Going to let it sit overnight so it can break all that gunk down and maybe I can get rid of most of the buildup.

Parts Bath


Unfortunately, as always, I found another problem during the tear down.  Some of the injectors had cracked/broken disks that separate the o-ring from the cylinder.  I am not sure what effect if any this is having on the fueling or if some unmetered air might be slipping past but it looks like I will be upgrading these sooner than later.

Busted Injector


So enough of the dirty talk.  Here is part of the reason for doing the clean up.  Some shiny stuff to put on.  It’s stainless steel bolts and washer sets for the MAF, TB, throttle cable bracket, TB sensors, fuel rail, intake, coils and coil brackets.  There is also a ported and polished throttle body and new MAP, TPS & IAC sensors.

Top End Parts


And here you can see a good comparison between the old TB and the new one.

Throttle Body Comparison


Hopefully I will be able to get the cleaning finished tomorrow so I can begin re-assembling the car again.


Breathing Easy

So yesterday I put my A/C belt back on that I removed a couple months ago because of it’s horrid squealing and to get back at me it decided that it was necessary to make up for all the lost time by increasing both the volume and intensity of the noise.  This simply won’t do so I popped by Advanced Auto after work today and picked up another belt.  Well, since I was already disassembling the airbox to get at the belts I decided to do a little modding while I was at it.

As it sits, the stock airbox for the LS1s is a bit restricting in my opinion with only two small slits feeding air to the filter.  One is on the front of the airbox itself while the other is on the A/C condenser coil shroud.  The other restriction is that half of the air filter itself is essentially blocked off by a couple of large plastic pieces.  We’ll just have to do something about that.

Here is the airbox with half of the work completed.  On the right you can see how it is setup stock with only half of the airspace being open.  On the left is where I hacked out all the obstructive plastic to open up the flow.

Cutting up the airbox


Once I finished that I fitted the airbox back to the car.  However as you can see here, there is still a large restriction in the form of the A/C condenser coil shroud only having a small slit in which the air is allowed into the box from the air dam below.  That will need fixing too.

Modified airbox


After a few highly precise and skilled wacks at the shroud with my utility knife, I now have an air opening about five times the size.

Modified airbox finished product


After putting the intake back together I decided to take her for a test spin.  Only it wouldn’t stay cranked and would die on idle.  This is where one remembers the importance of double checking that everything is back where it should be and that plugged in MAF & IAT sensors are crucial for operation.  So with that small snafu corrected off we went.  I immediately noticed that throttle response is greatly improved and there isn’t a delay in pushing the pedal and having something happen any longer.  Oh, and the belt squeal is gone, yay.